|
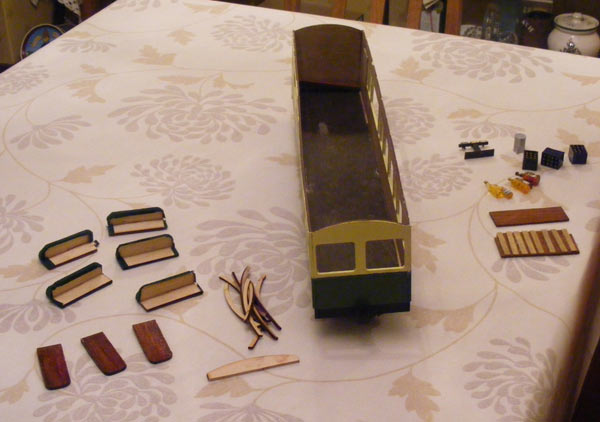
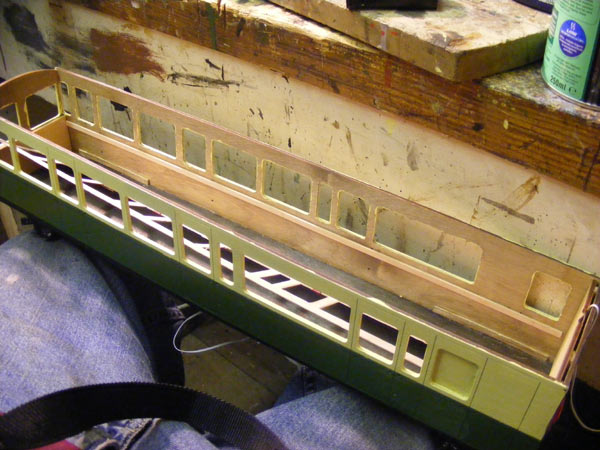
Work has been ongoing on this for some little time, but New Year 2010 saw a concerted effort to get things moving. This is what we've got so far - the coach started life as an IP Engineering VoR Passenger Brake Van but it's been built with no internal partitions and an inconvenient window boarded over.
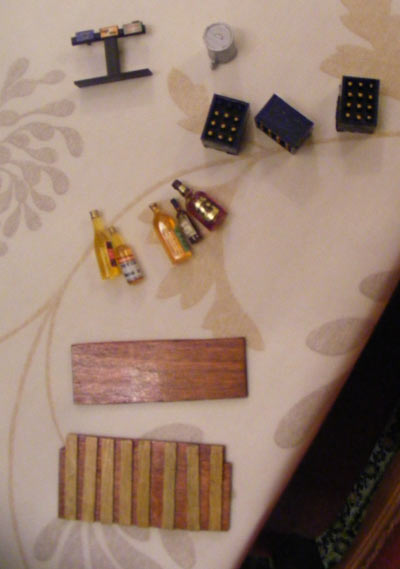
Components for the Bar.............
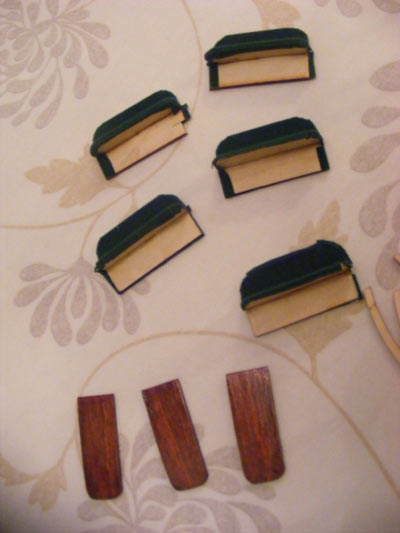
Seats (The IP ones reshaped and covered in self-adhesive green velour - there's still one to do) and table tops, stained mahogany and varnished.
Bar stuff - notice one crate of beer's partially used!
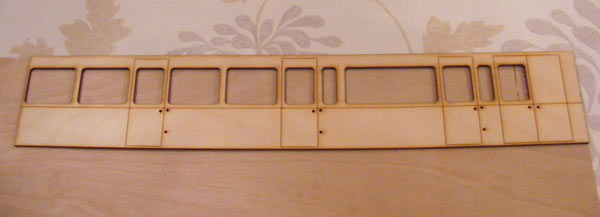
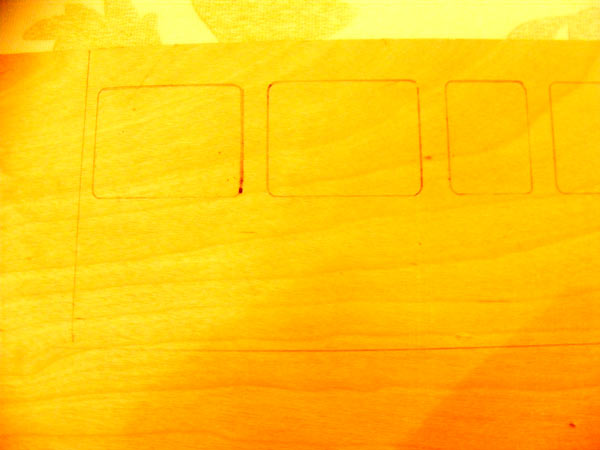
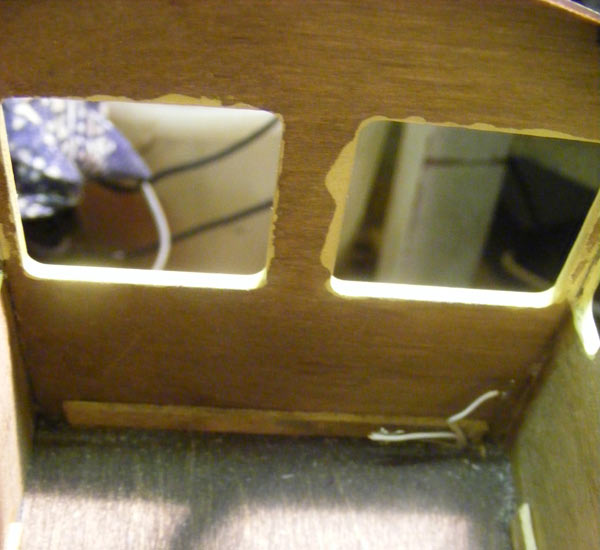
The first job was to use another set of body parts (don't ask) to mark out some 0.8mm ply for the inner skin of the sides.........
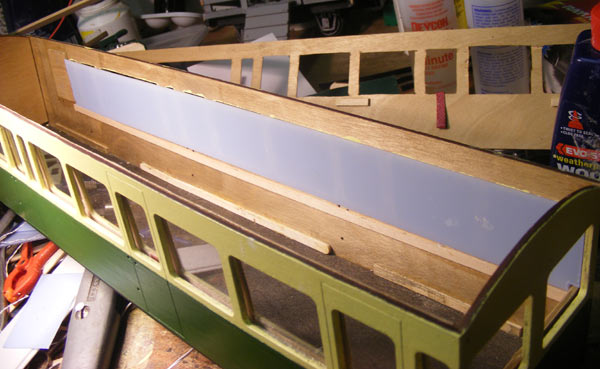
.......which then looks like this. Once the ply has been cut down to fit INSIDE the coach..........
............. it's possible (and indeed advisable) to check that the outlines of the windows will be in the right place when you've cut them out - it's also good to mark the face of the play that faces the outside of the coach..........
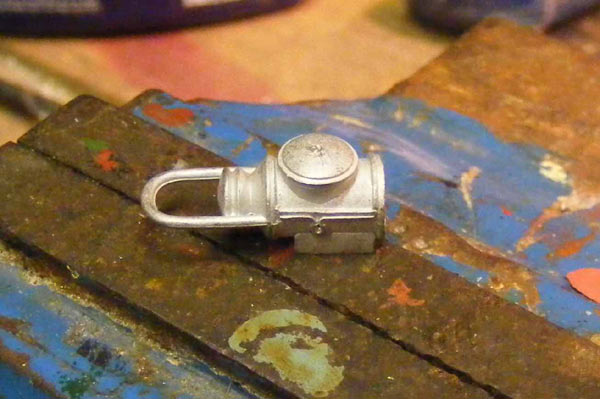
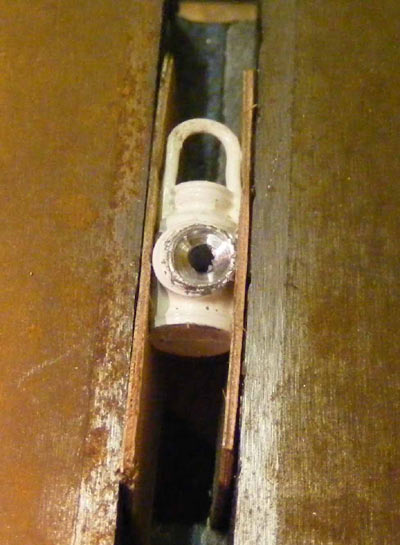
The next job was to make the working tail lamp. I started off with a cast white-metal lamp from Brandbright. Just to be awkward, I use round ones for rear lamps, which makes things just a little difficult. The first job is to centre-pop the middle of the "lens" on the front and drill through 1.5mm. Next, to paraphrase Mrs Beaton "Catch your LED" - in my case, a 3mm diameter one. DO make sure the LED gives a good, bright light there's no point in making a lamp that works if it can't be seen in daylight! Next, drill in from the back with a 3mm drill (or one the same diameter as the LED) then with a 3.5mm (or a larger size to suit) drill to allow the larger ridge at the flat end of the LED to sit flush with the back of the lamp..............
.............. so it looks like this.
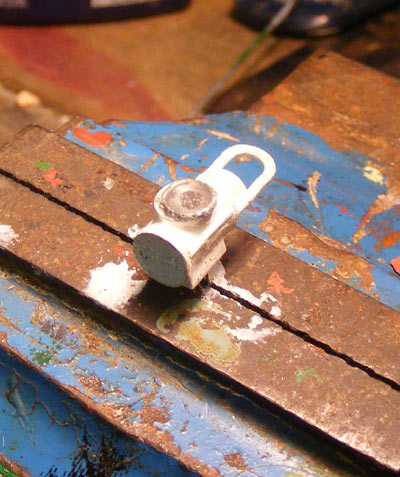
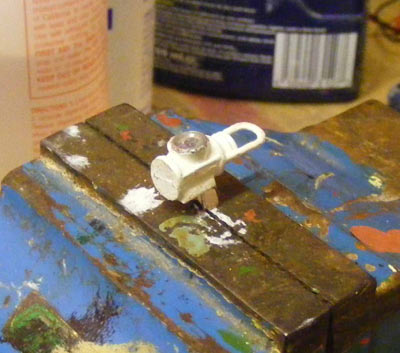
............ following which, take a 5mm drill and go into the lamp from the front to create a lens.
.. and then you can finish the lamp off. Put the LED in a vice, sit the lamp on top and put a blob of epoxy in the front, so it forms a transparent lens.
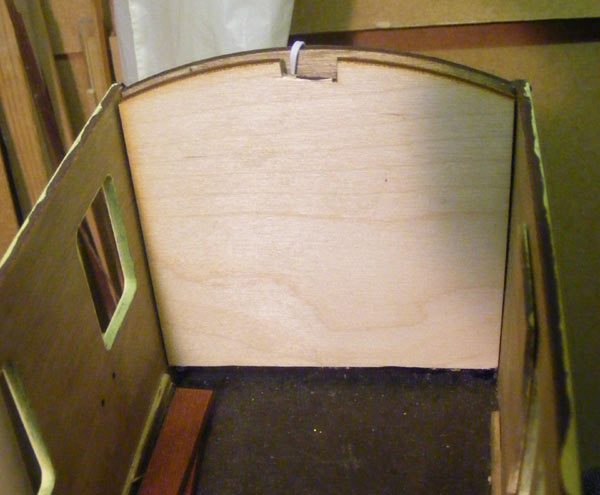
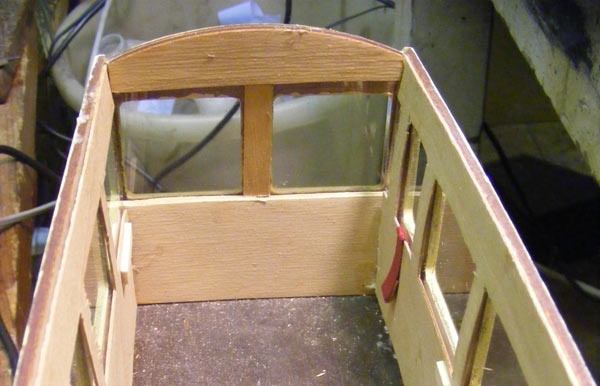
As I had a spare kit (don't ask how......) I've been able to use a "spare" end inside the coach to make the end wall at the bar end of the coach. Note the wire (taped out of the way for the time being) for the roof lights and the notch in the top for the wooden strip that will eventually carry the LEDs.
The wires got soldered onto the "tails" of the LED in the rear lamp...............
............. and the strip of wood on which the glazing will eventually rest was glued into place before the bottom half of the inner skin of the body was cut to shape, sanded, stained and glued in place. No picture, yet.....
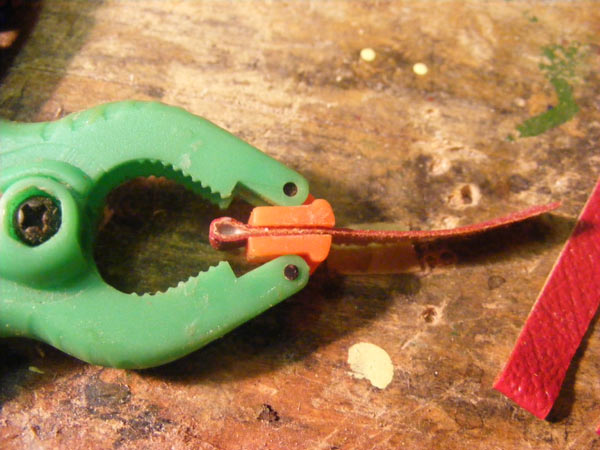
I decided that all the droplight windows should have leather operating straps, so I raided an old tin with bits of leather, cut some strips out of a piece of red leathercloth (coz it's a lot more flexible than real leather) and glued the ends like THIS........
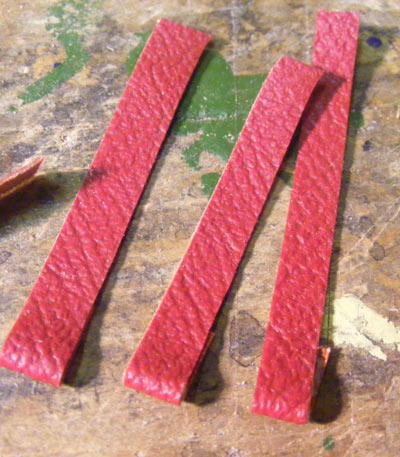
............. so I ended up with properly shaped ends. I also stained the ply skins for the interior of either side, but have got to add the strips which the tables will sit on and the glazing retaining strips before I can consider assembly.
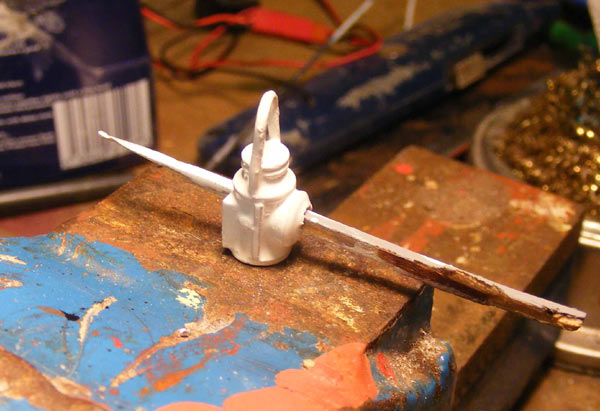
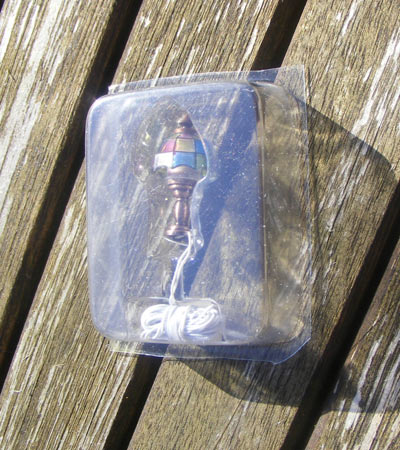
This is how the lamps for the tables come - they're 1:25 "Tiffany table lamps" from a doll's house supplier........
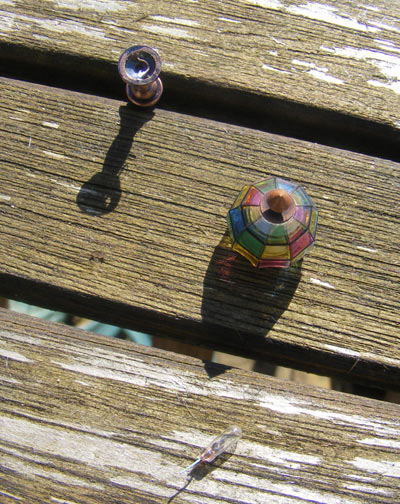
............. which come in three parts: shade (which screws into the top of the base), grain of wheat bulb and base.
The grain of wheat bulb is a push fit on the base: once you've removed it you need to carefully detach the wires and VERY carefully put drills up the base until you've got a 1.5mm hole. Take your LED, cover one leg with heat shrink tube, cut the other one short, instal into the top of the base, solder the short leg to the top of the base (being careful not to obstruct the thread for the shade) solder the wires - one to the base and one to the long LED leg and Robert is your father's brother!
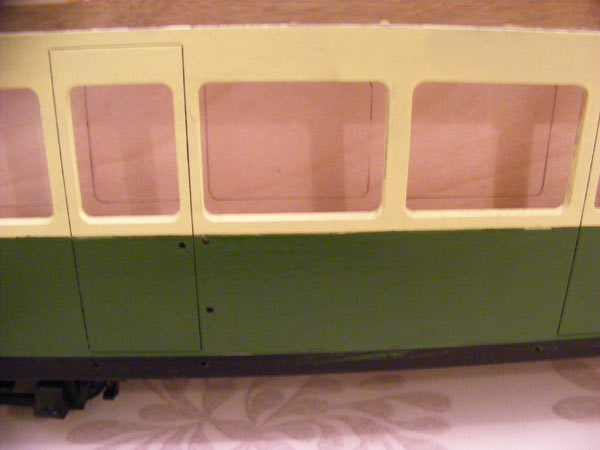
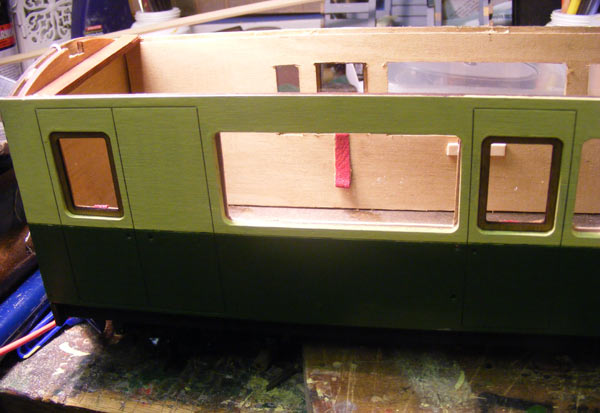
Returning to work on the main body, the retaining strips for the glazing were fitted........
............. the glazing was cut to size.......
............. and the glazing, inner sides and ends were fixed in place.........
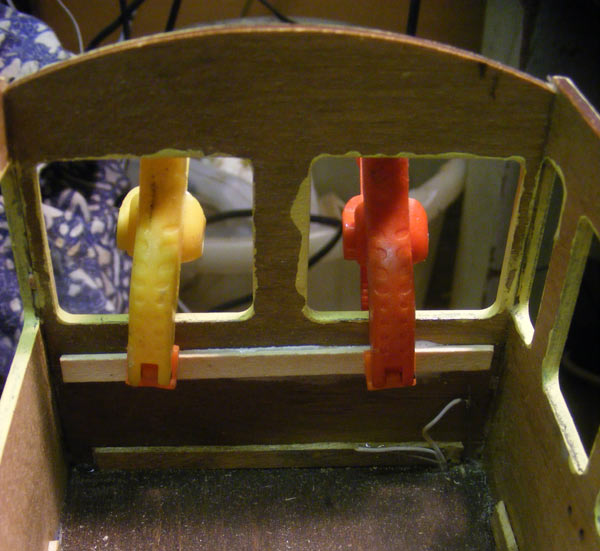
............. as were the droplight frames on the outside. The coach is suddenly starting to look better! Notice the straps for the droplights.......
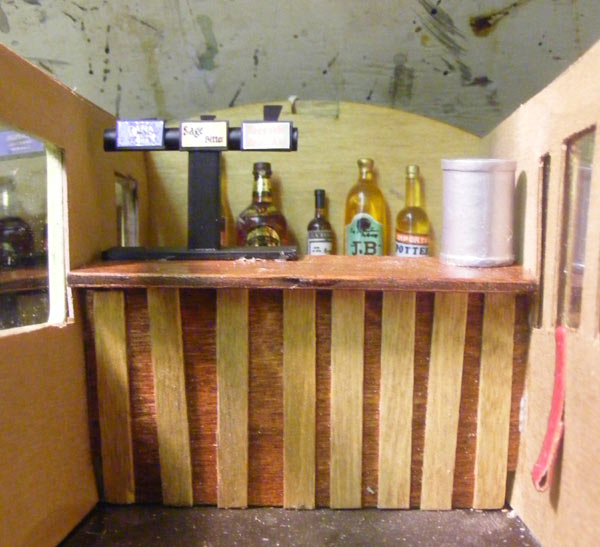
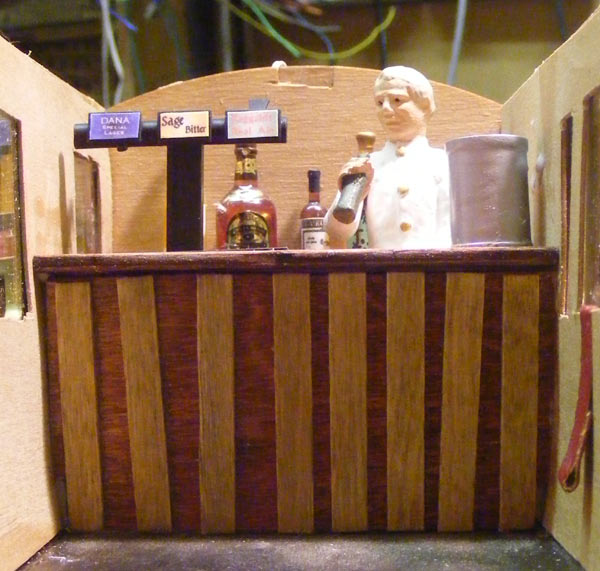
After this, I decided "What the heck" and fitted the bar............
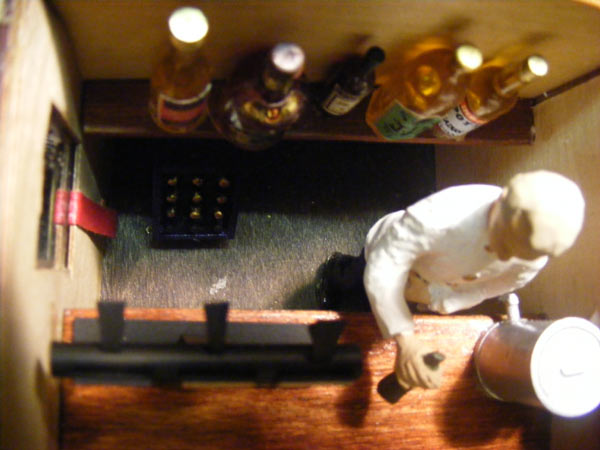
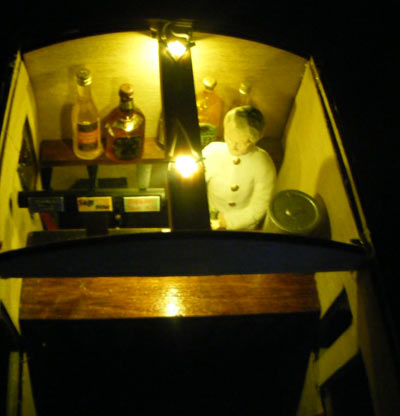
............. which looks good with Albert the Steward behind it! (and even better when I'd wiped the PVA glue off the side!)
I'd bought 3 crates of beer for behind the bar, but there's only room for one. I'd also intended to fit two shelves on the end wall, but there's only room for one.............
A "Passengers' eye" view of the bar..............
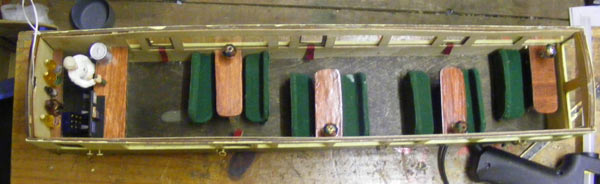
Now, I've got all the seats, tables and table lamps installed..........
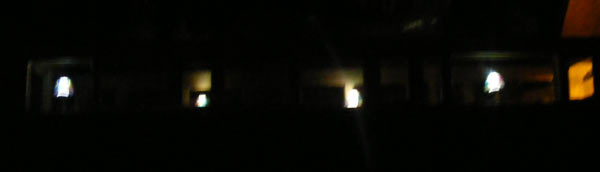
.......... and after a nightmare hour or three, they all lit up!
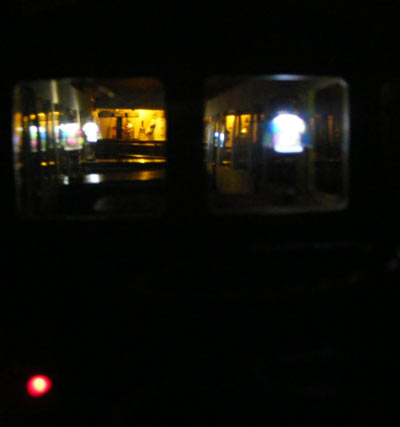
A view from the observation end - the red light in the bottom left hand corner is the tail lamp.
The bar is well lit by two IKEA LEDs.............
........ but there's an absolute mare's nest of wiring under the floor, stuck down with hot glue gun glue.
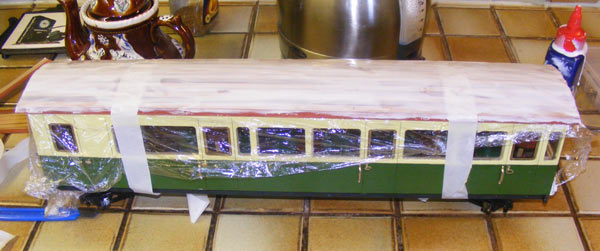
The last-but-one job is the roof, made in my usual fashion from 16 separate strips of wood, stained alternately red mahogany and light oak. The first stage involves covering the coach body with clingfilm and taping the strips together with masking tape on what will be the inside. The roof is then taped into place. smothered in PVA glue and the whole left on top of the central heating boiler to dry thoroughly. Once that's done, glue tissue paper to the outside of the roof, turning over the edge neatly and allow to dry thoroughly again. Varnish the inside of the roof with your preferred choice of varnish, spray-prime the outside, sand down and fit to the body. Finally, apply top coat of your choice to the roof.
For those who have never seen one (or who have them on order) this is an Alan Briggs plate!
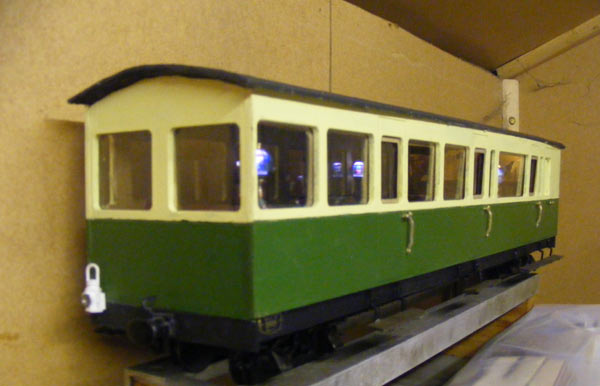
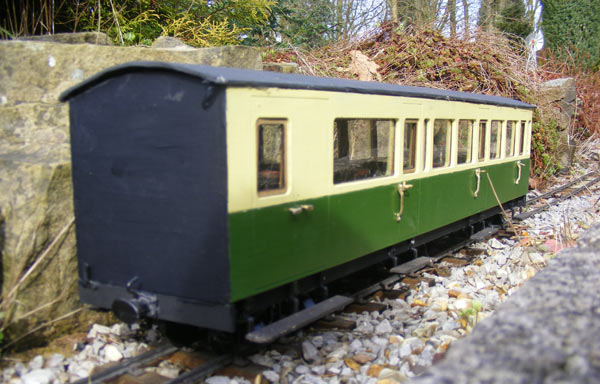
After painting the footboard brackets and fitting them to the solebars, glue the footboards in place and prepare to take The Official Pictures - in the Workshop............
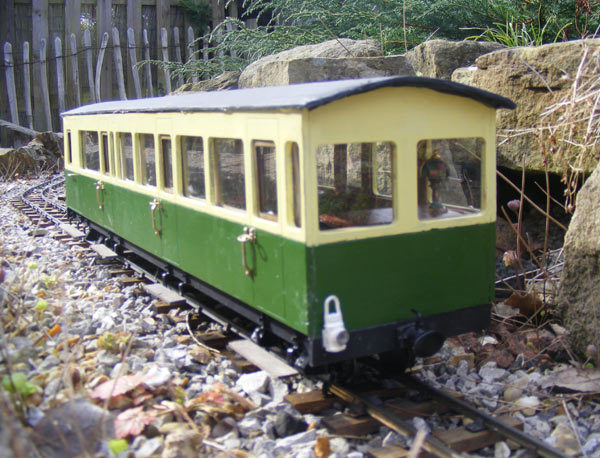
........ and out on the line.
I strongly resisted the temptation to actually run a train as the Railway didn't see a lot of use last year (for obvious reasons) so I've got two year's worth of "overgrowth" which requires major chopping back before I can run a train and not scratch all the paintwork. |