|
(back story) The MDLR acquired a number of WDLR “D” Class bogie wagons after the Ashover Light Railway closed just after WWII. The last two of these were adapted for the 1968 traffic management scheme which saw all vehicular traffic in the White Peak area banned, and all supplies and passengers travelling in and out by rail. They were converted into flat trucks with the appropriate “holding down” equipment to carry two standard BR half-length containers for general merchandise. Unfortunately, the railway had bought wagons with wooden underframes and these proved not to be man enough for the task. One of the wagons was literally pulled apart following a vigorous re-start from Conksbury Bridge Halt following which the remains were unceremoniously dumped in the long-abandoned refuge siding at Lathkill Dale together with the other surviving wagon, where they missed the attentions of the scrap man. They have now been rescued from their home for many years and a replica rebuilt from the two sets of remains. (end of back story)
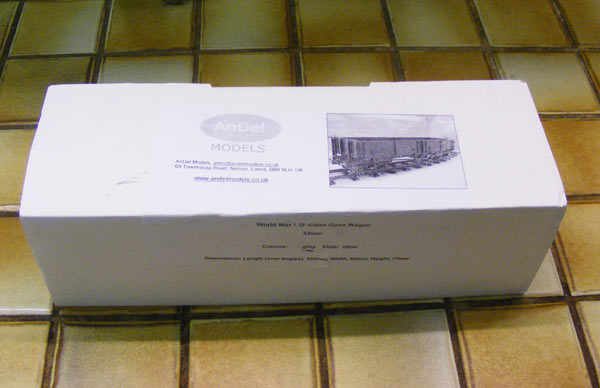
I've never actually built a resin rolling stock kit before, so when Andy Bell invited me to review one of his “D” Class wagon kits, I was more than delighted. WHAT YOU GET IN THE BOX To start with, the box itself is a nice robust cardboard affair, which is just the right size to act as a good storage box for the completed item if you don't have anything better.
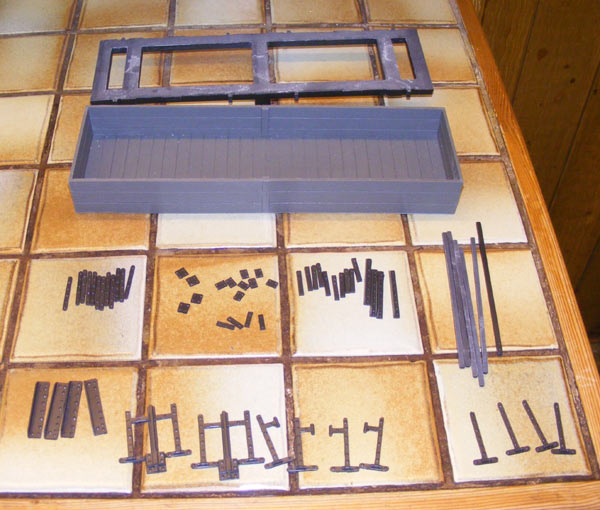
What you get are two large one-piece mouldings: body and underframe, together with bags of other bits – the external ironmongery for the body, the bogie kits, the brake parts, and wheels. The first surprise for me was that the body comes as one complete moulding with wood plank detail inside and out, leaving the builder to add the inside and outside detail. Me, I'm old school and I'm used to faffing around with PVA and pins to build the basic box which is part of just about every item of rolling stock, but here I don't have to. The instructions are very well detailed, but in truth the ones for the body could be summarised thus: drill holes in underframe for bogie pivot screws, glue underframe to body, glue ironwork to the body! In fact, there is a lot more to it than that and the instructions and pictures (which though small, are very sharp) are very good at telling you what bit goes where. 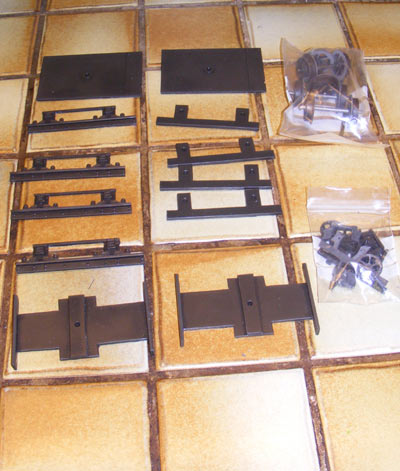
The bogie kits. 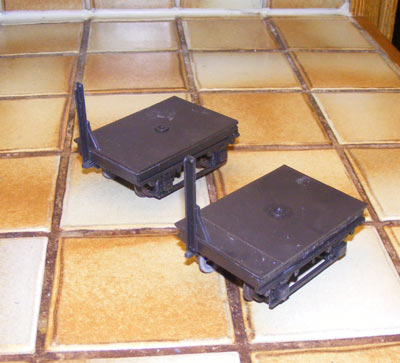
The bogies - complete except for brake shafts and wheels. 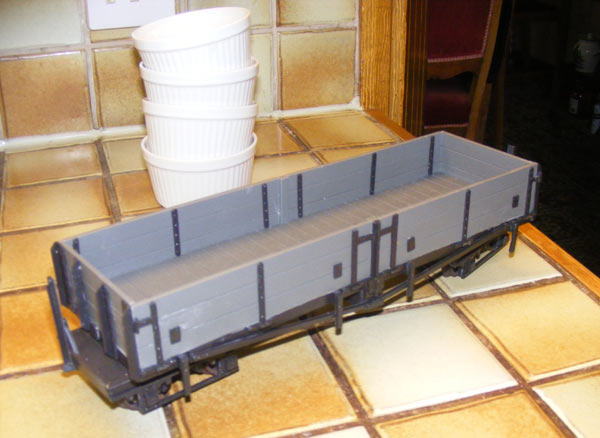
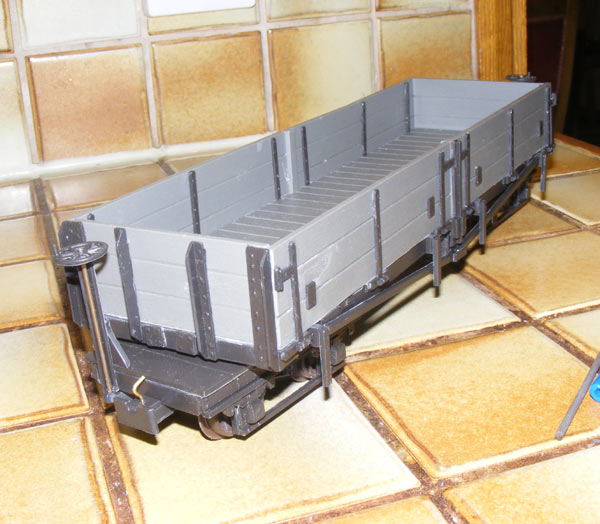
The almost-completed wagon. I started the kit at around 0730 on a Sunday morning, before the family was stirring: I first wrote this at 1231 the same day with the wagon fully assembled, having taken a couple of breaks in the interim. The fiddliest job was adding the very small detailing pieces to the outside of the body: younger people with better eyesight and smaller, nimbler fingers will find this much easier than I did – however, I'm sure everybody will end up gluing at least one small part to their finger, instead of where it was intended to go – I know I did!
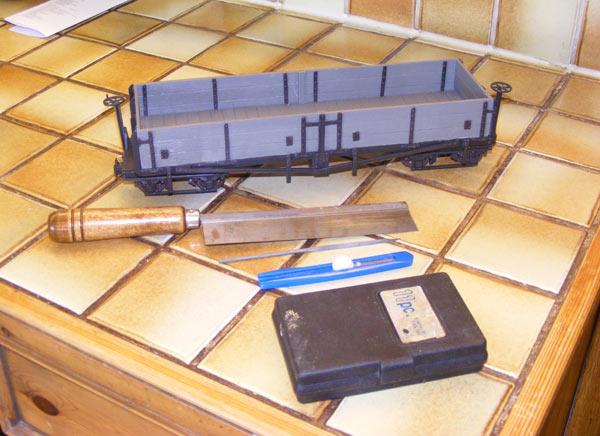
......... with most of the tools needed to build it - pliers for bending the wire for the coupling hooks and electric drill not included.
...............another view - note how little painting is needed.
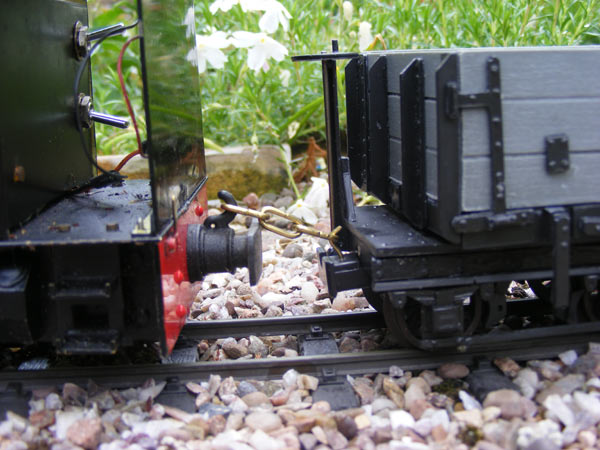
In operation, I discovered a couple of minor problems. As this is a scale model, the couplings are at scale height, not the usually-accepted “standard” of 25mm or thereabouts above rail level, so you need to make GOOD hooks so the coupling chains will stay on them, and perhaps not marshal the wagon next to a loco where it could be pulled up and off the rails. You can se what I mean in the picture.The brake standards are also a little fragile – one of mine actually broke whilst it was in the box – so you need to store carefully and perhaps replace the resin uprights with brass angle. Finally, this model is 32mm gauge only – sorry!
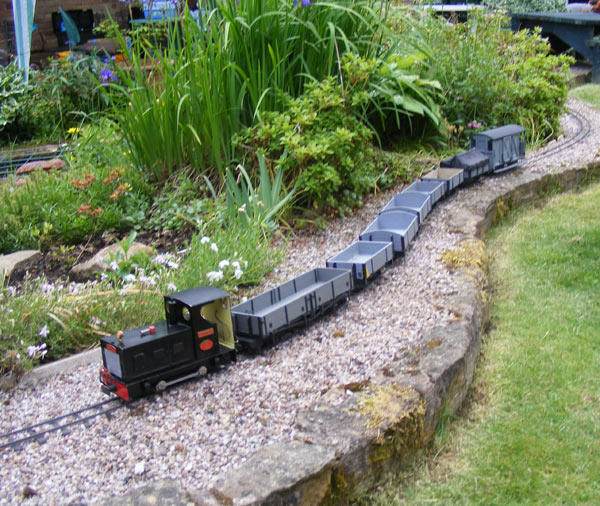
The final picture shows it in service on the day of construction, on Ian Shield's Ashfields Light Railway. |
