|
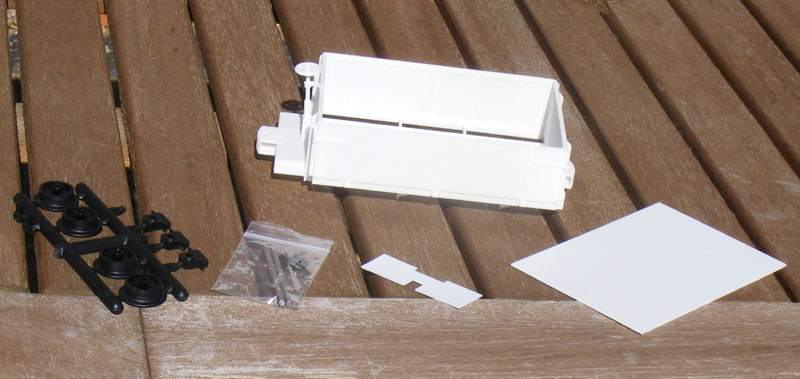
We’re nearly all aware of the existence of 3D printing: I’ve had a couple of kits which have had 3D-printed components but that was as far as it went until Matt Peacock started getting complete bodies for Hudson 4 wheel and bogie wagons 3D printed. I was unable to resist, and ordered a kit for the steel bodied 4 wheel wagon. First Impressions 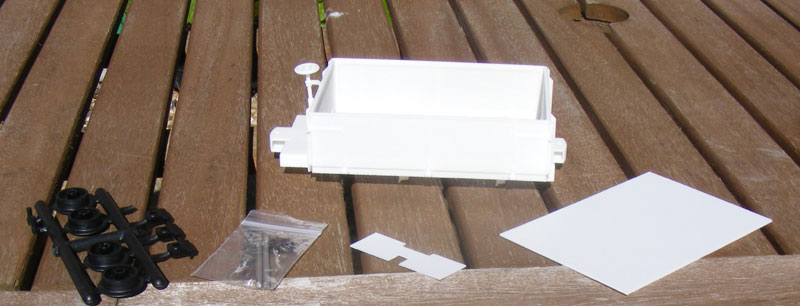 The first thing that strikes you is how light the kit is: it only weighs 50 grams (1 3/4 ounces), the same as a Binnie skip, so you can see why Matt suggests it is really only suited for lightweight battery power. However, I can see them running behind a steam loco………………….. Apart from the incredibly detailed one-piece body (including the brake standard and wheel, which don’t seem to be particularly fragile) you get a floor, a set of Binnie wheels, axles, axleboxes and the little “T” piece that the coupling chain drops over, and a small pre-cut piece of plastic chequerplate for the brake end of the chassis. That’s IT! The first thing that strikes you is how light the kit is: it only weighs 50 grams (1 3/4 ounces), the same as a Binnie skip, so you can see why Matt suggests it is really only suited for lightweight battery power. However, I can see them running behind a steam loco………………….. Apart from the incredibly detailed one-piece body (including the brake standard and wheel, which don’t seem to be particularly fragile) you get a floor, a set of Binnie wheels, axles, axleboxes and the little “T” piece that the coupling chain drops over, and a small pre-cut piece of plastic chequerplate for the brake end of the chassis. That’s IT!
 Instructions Instructions
Now, I’ve never been one for slavishly following instructions, and in a kit of this simplicity one might perhaps consider throwing these straight in the bin. HOWEVER, 3D printed kits have a number of differences from the stuff we are more used to working with, so it is VERY advisable to read these thoroughly. This particularly applies when it comes to painting – the flat areas need to be flatted down with fine wet-and-dry paper, used dry, and you should expect the first coat of paint to more-or-less disappear. By the way, DON’T use spray paint – it doesn’t work! 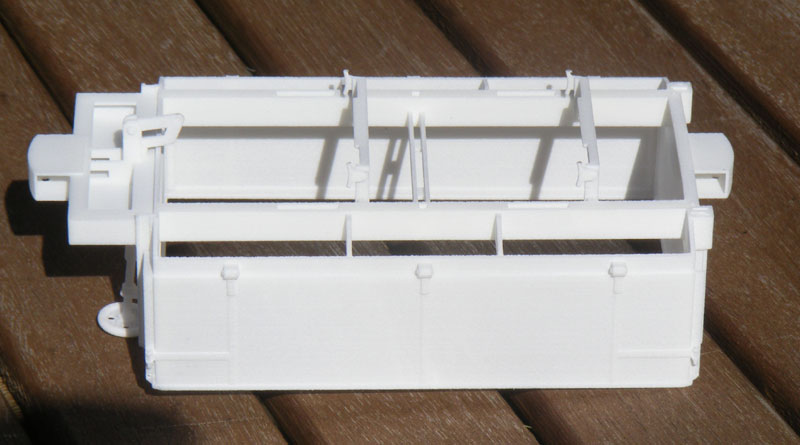
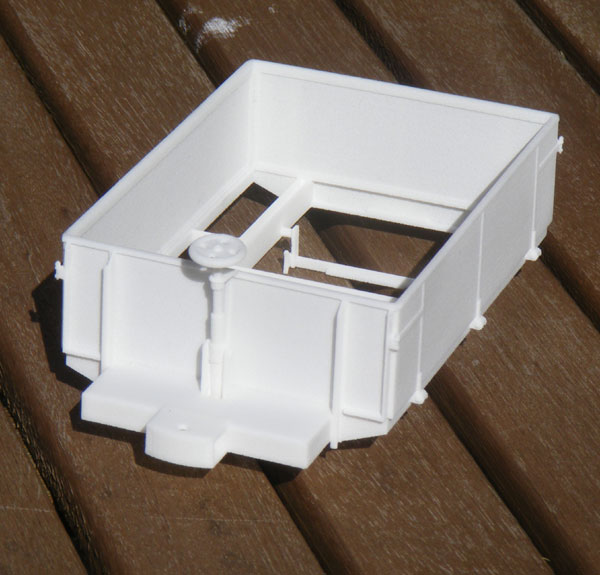
A couple of views of the printed body......................... Assembly This is simple: less than 30 minute’s work should result in a completed wagon. The most time-consuming job was removing the remains of the moulding sprue from the wheels before assembling the wheelsets. I must confess to not being a fan of superglue to assemble rolling stock – in too many cases I’ve had it come (literally) unstuck with dire consequences, so one mix of my usual 5-minute epoxy sufficed to assemble the “underpinnings” and the coupling tees. The printed holes for the latter needed a little opening out with a drill before being glued in position. 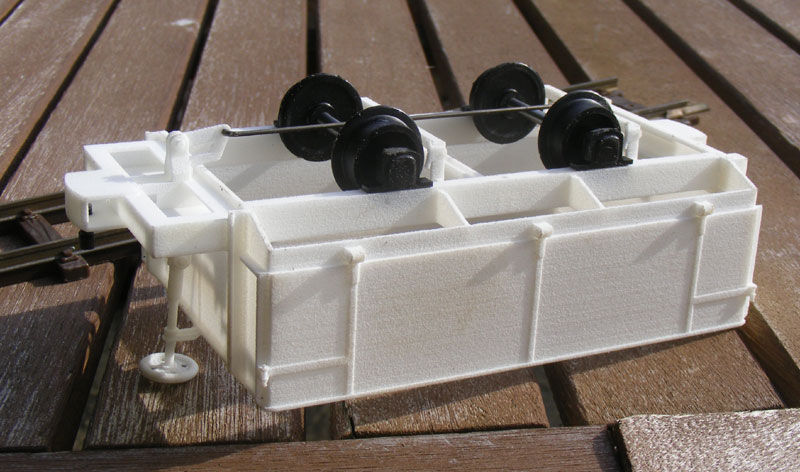
I also decided that it was a shame that the kit didn’t include a length of wire for the brake rodding, so found a suitable length of wire, opened out the already-printed hole on the brake crank at the bottom of the handbrake screw to 1.1mm, and superglued the rod in place. 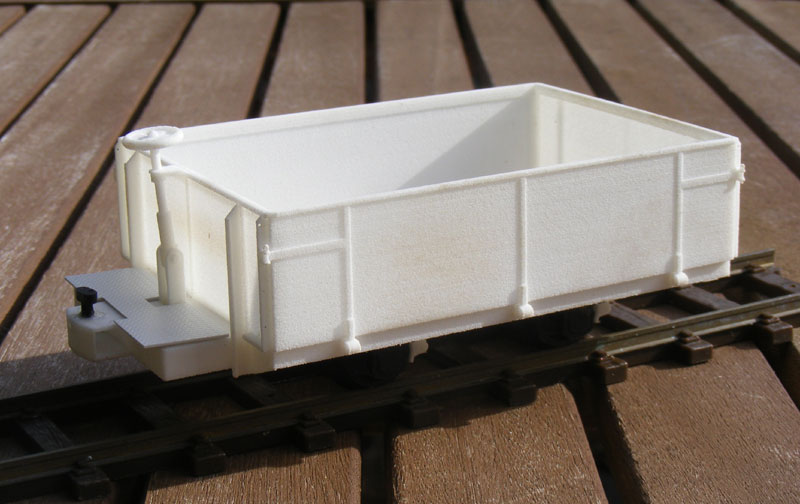
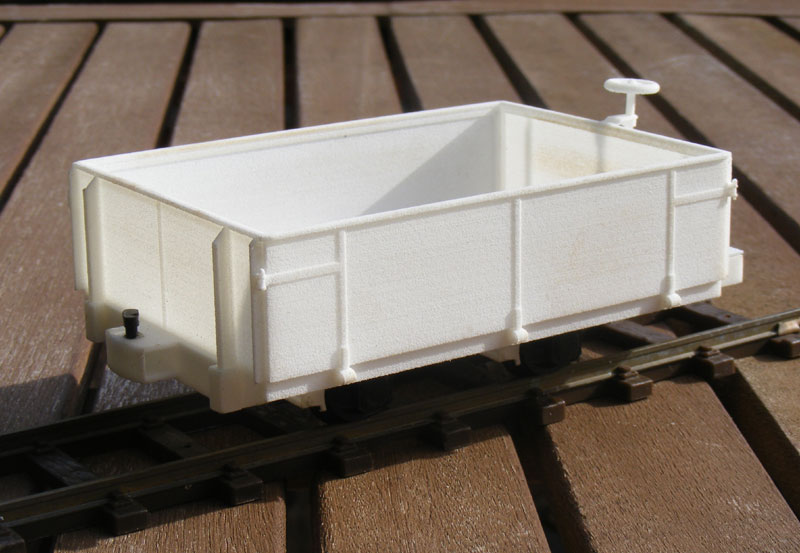
Interestingly, these two photos of the assembled wagon show up the "grain" on the flat areas of the wagon - this is why a measure of flatting with wet-and-dry emery is required before painting. I next looked at ways of increasing the weight of the wagon: my first thought had been to use an already-in-stock white metal compressor set as a permanent load, but as I was looking at the possibility of putting some lead underneath the floor, and how it would clear the wheels, the solution hit me between the eyes. Why not cut a piece of lead sheet the same size as the floor and glue it underneath? No sooner said than done: I’ve had a good stock of sheet lead for more years than I care to remember, so to cut a piece the correct size was a simple job – securing it to the underframe with contact adhesive and glueing the plastic floor on top was equally simple and you really can’t tell it’s there (unless you take a measuring stick to it and KNOW how deep the body should be!). This now means that the wagon now weighs 157 grams – a useful increase in weight! 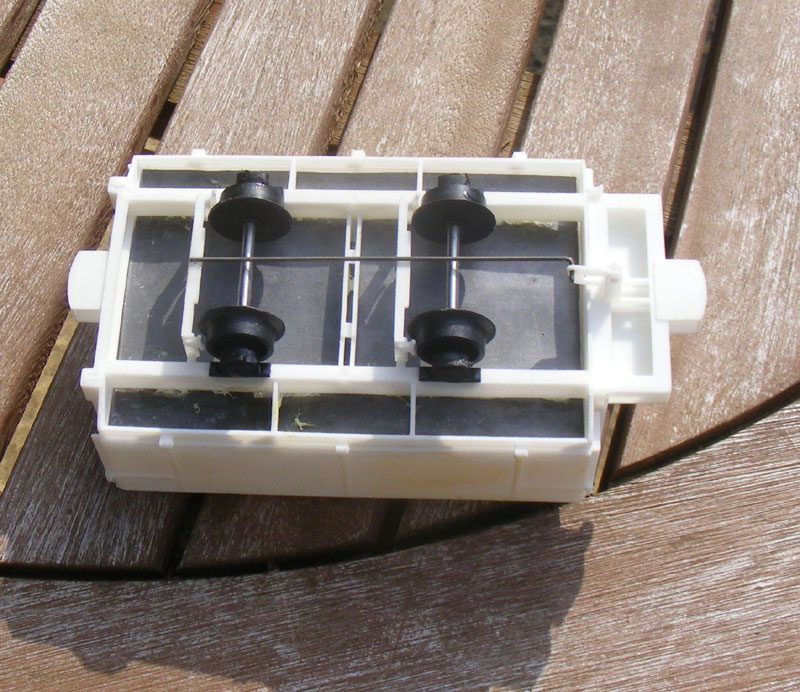
The lead underneath the floor.................. 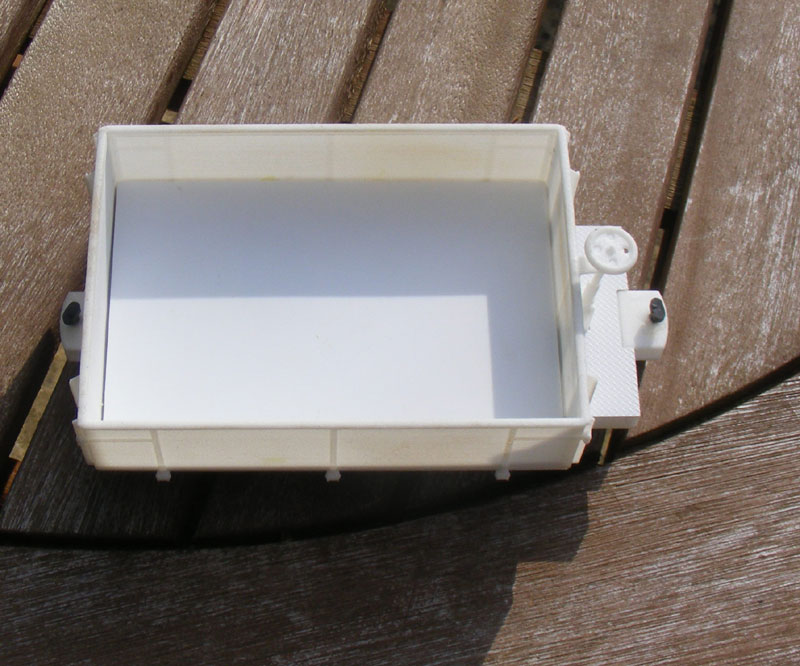
You can't tell at all! Painting Matt doesn’t recommend spray paints – something to do with the fact that the 3D-printed model absorbs paint unevenly. I decided to get around this with a 2-pronged approach: spray first with a plastic bumper primer, and secondly with a “high build” spray primer. The first part worked perfectly (apart from the fact that the primer was transparent, so I couldn’t tell how well I’d covered it) but the second half was less successful – I managed to fill the chequerplate detail with primer so it almost disappeared, and the sides and ends were none too smooth, as was the interior. Having said that, I wasn’t looking for a “perfect” paint finish – the prototypes are all getting on in years – and I suspect that it’ll “hold” weathering powders fairly well. I actually tried this before I washed and painted it, and the effect was very good. 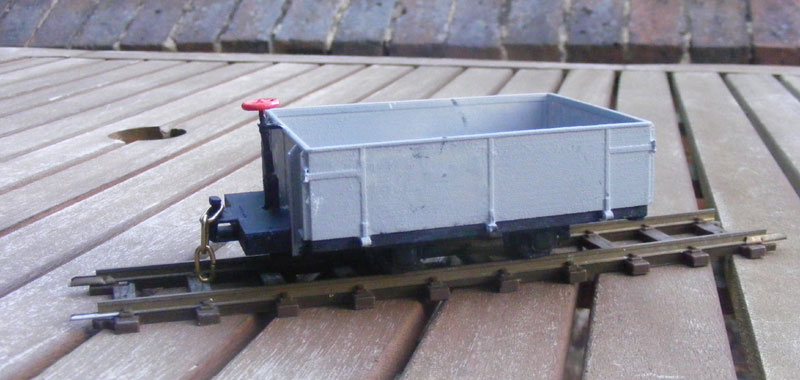
Fresh out of the paint shop.................. 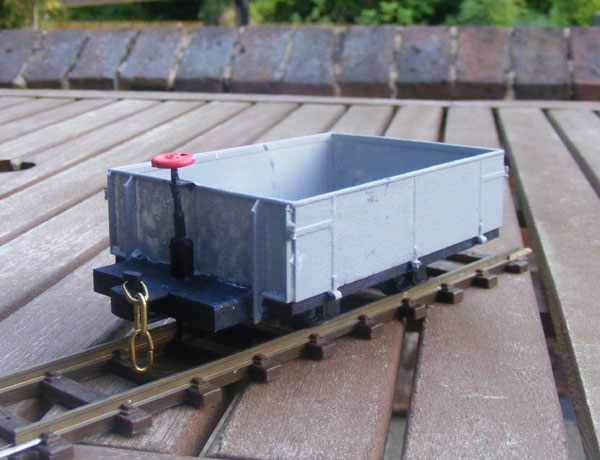
I painted the brake wheel with white acrylic before applying the red paint - makes it a "1 coat" job instead of a multi-coat one - red paint is notoroiusly "thin" on pigment and this gets around it.! |