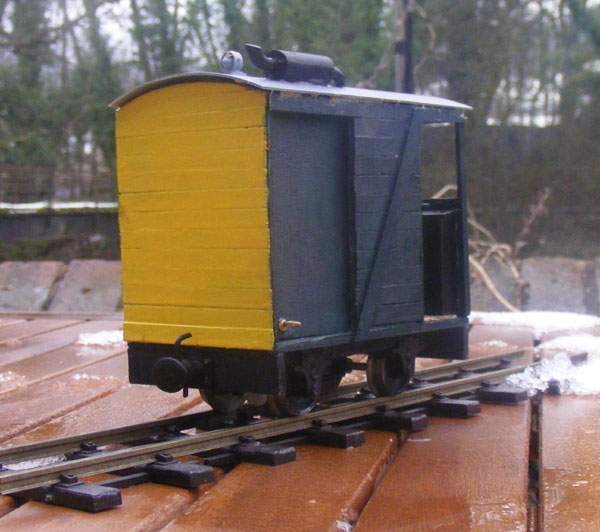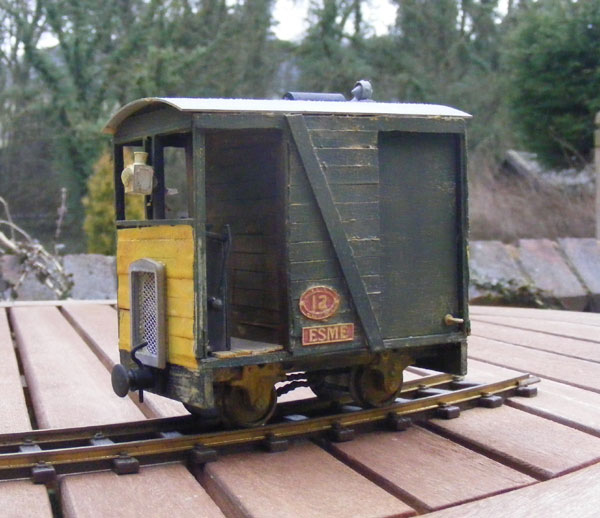
ESME was an IP Engineering "Lollypop Railcar" acquired at the 16mm Association's AGM & Convention in April 2004. It is pictured here on 5th May 2004, complete with name and number plates, on the MDLR's first working of the day - the "up explosives". Note that this whole train was built in 2004 - the gunpowder van at the end of the train was on its first run. (This loco was going to be called MAGRAT, until I found the name plates were far too big.........) 
This picture shows her on her trial run on Sunday 18th April 2004. Note that the two front lights are drilled-out Brandbright lamps, not the ones supplied with the kit, which I considered to be too "toy-like" for a Serious Railway like the MDLR! 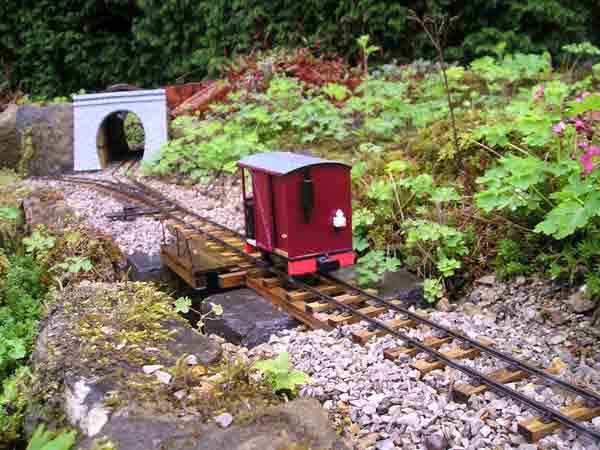
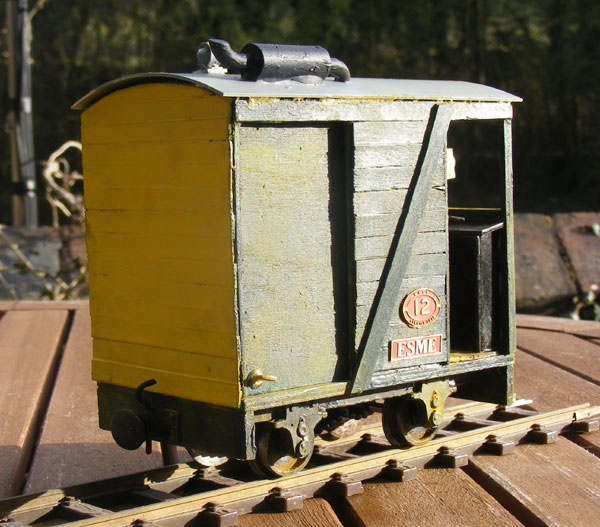
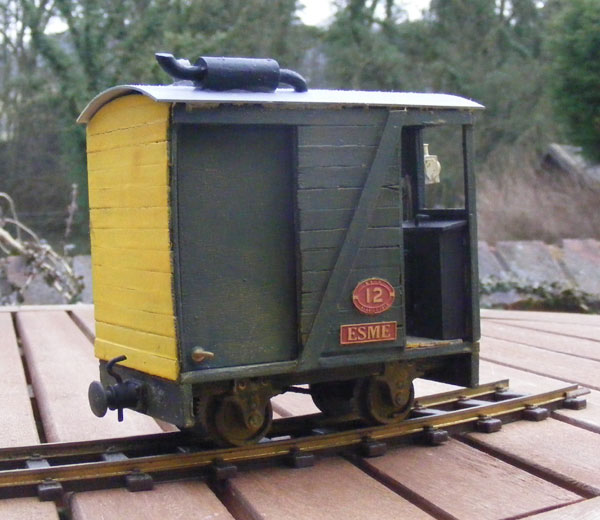
The back looks quite pert, with the little exhaust stack..........
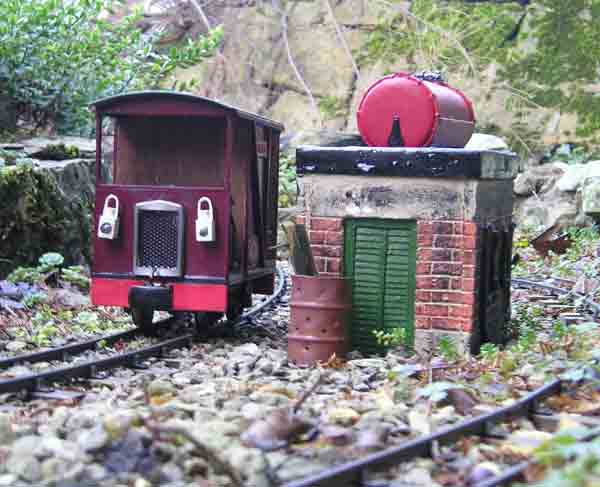
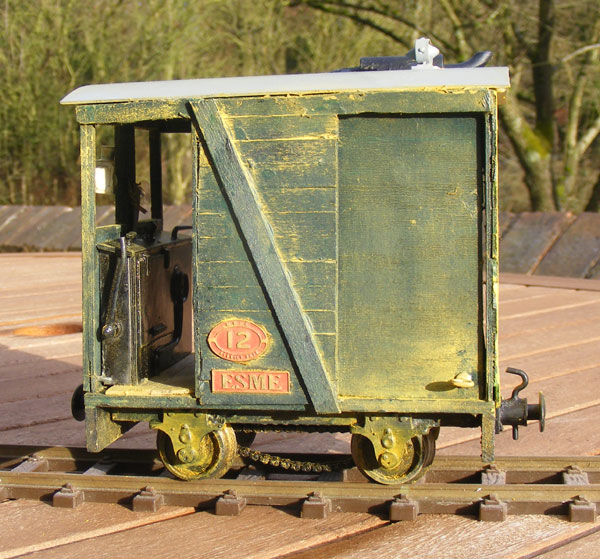
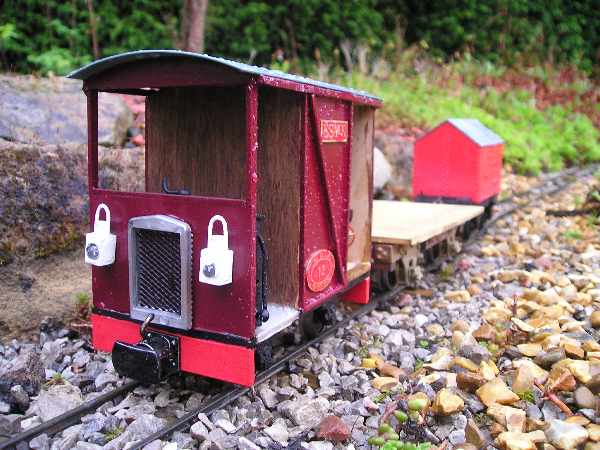
Here she is in early 2006, pausing outside the newly-installed Diesel Refuelling Facility.
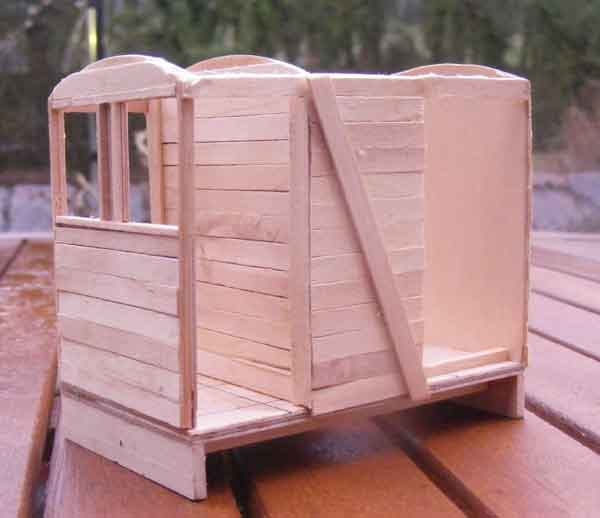
Unfortunately, this loco was one of the ones stolen in late 2012: fortunately, I had a part-built kit (originally to have been No19 and named Paul Hardcastle) so this was commandeered for the rebuild. The kit had been partially assembled very neatly - however the builder had subscribed to the “use as little glue as possible” school, so on handling it started to fall apart! I reassembled what had been built (with more glue) and then took a critical look. The holes had been drilled for the lighting which I didn’t intend to use in this form on this occasion, so I wanted to hide all the holes. The solution? Coffee stirrers!
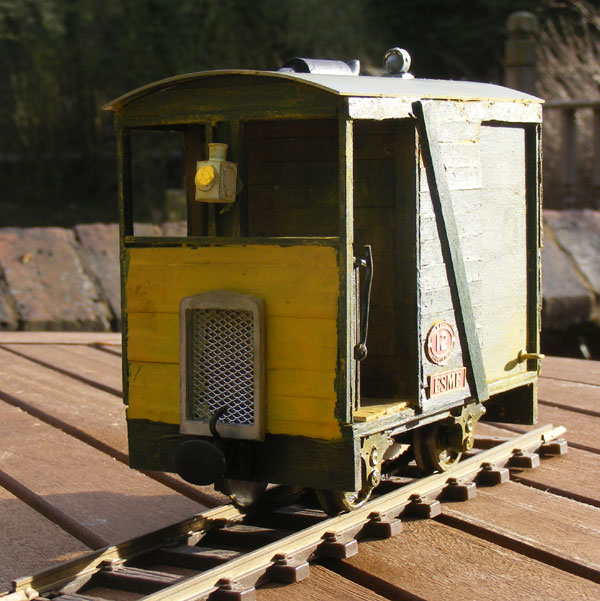
The existing ply body was overlaid with planks from the aforesaid coffee stirrers: here we see the front end, which still has to have the radiator added................
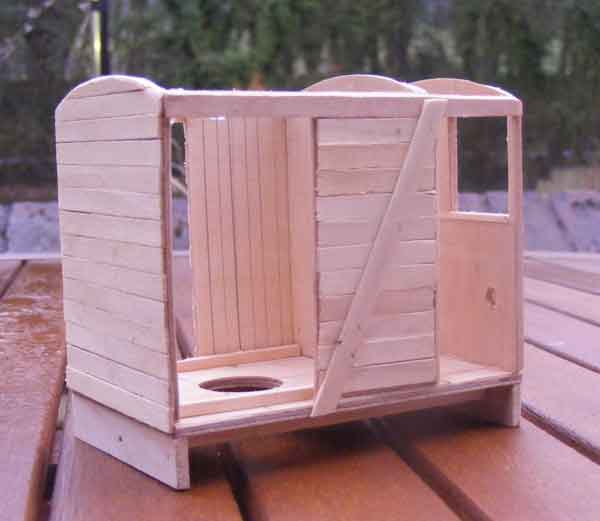
............ and here's a view from the rear. Planks were cut for the cab floor, but these weren't added until the body had received its surface finishes.
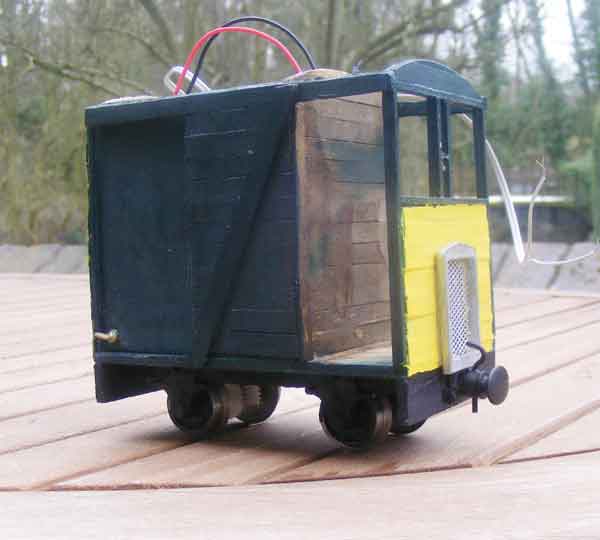
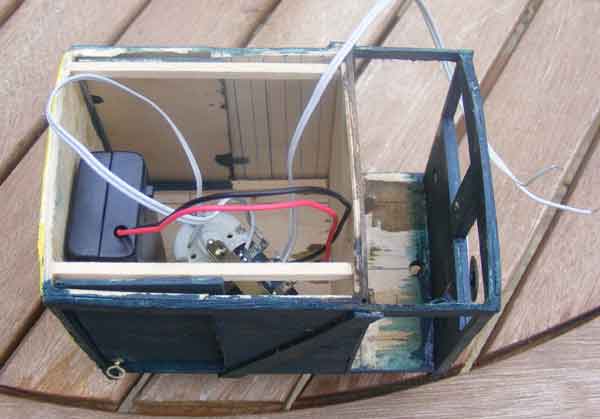
Things progressed slowly for a while - the lack of pigment in the "Yellow End" paint meant that 5 or 6 coats were needed to get a finish that was anything like, but eventually I was happy with it. After this, the other body colour was applied and the underframe painted. THEN I added wheels and axle boxes and painted them, before getting the sliding doors ready to fit and painting and fitting the buffer / couplers. The radiator was a VERY tight fit with the coupling hook. Then the wiring was sorted.............
............ and I made sure the loco went in the right direction when the switch was operated. This is a Boy Band loco - it only goes in One Direction! The "spare" wire is for the front headlight, which was fitted differently to how I originally intended.
I finally got around to fitting the headlight (otherwise known as the "You've left the batteries switched on Brian" indicator) and painting and installing the roof............
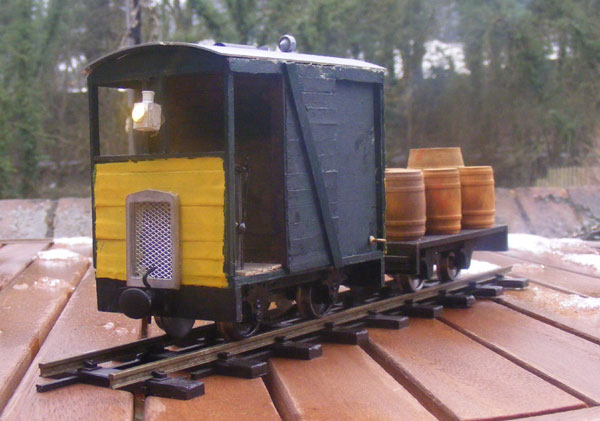
............ which has the exhaust stack and a ventilator added. The flat truck is ex-Pigsty Hill Brewery and had a suitable load installed (but not strapped down).
I think she looks suitably rustic and agricultural............
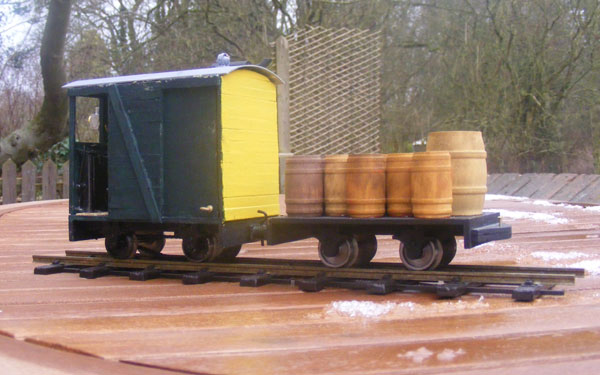
............ but she was due some light weathering, to make the planks show up a little more.
............ and here she is, with name and number plates added....................
............ and a dollop of weathering using a sand-coloured powder from Humbrol.
After these pictures were taken, she was given a coat of matt varnish - I wondered if it would change the finish any. It did! (but not in the way I wanted.) I applied it in the evening in an unheated shed, so it bloomed beautifully and I ended up with white weathering - NOT what the doctor ordered! Fortunately, there was an easy cure - spray a coat of GLOSS varnish over the top, then re-weather and reapply matt varnish in a warm atmosphere!
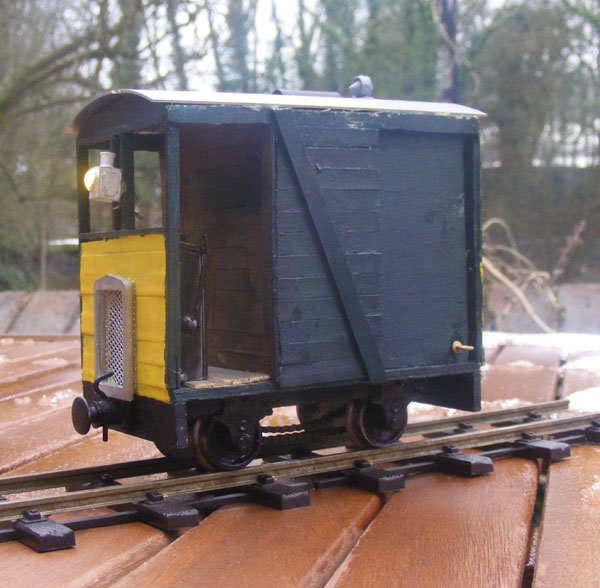
The finished result is less weathered...............
............... but very acceptible, nevertheless. |