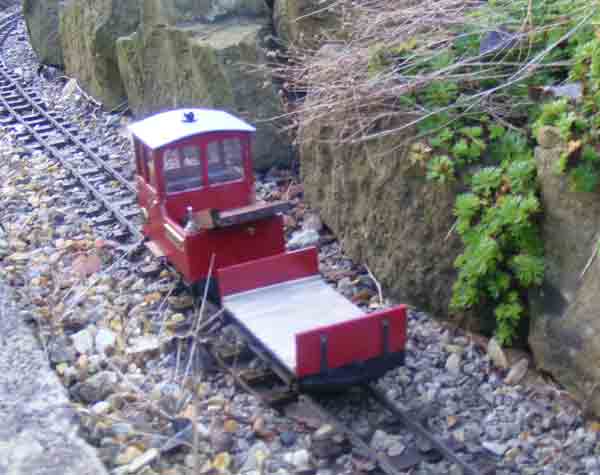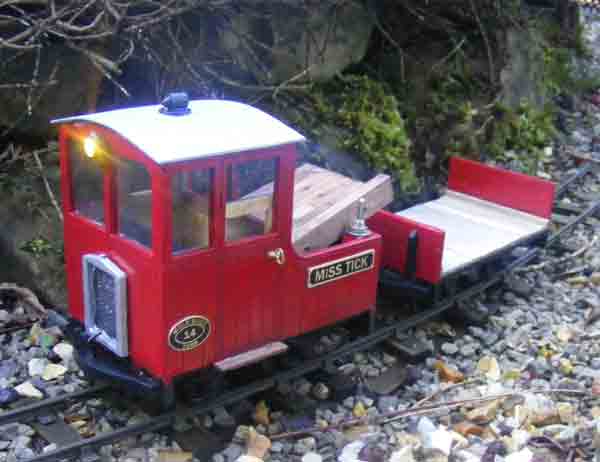
When I saw the IP Engineering Ezee "Daisy" railcar, I thought "Ahhhh! Innit CUTE!" so an addition to the roster was requested on my Wish List and in due course Santa delivered the goods, along with one of the matching flat trucks that Ivan calls a luggage wagon. As I'd seen Santa's package being delivered (and knew it wasn't the also-requested coach which arrived separately) I had already taken the precaution of ordering the paint I was going to use (London Underground red) and a set of name plates and number plates. Unfortunately, the Railway already has a Number 14, so I've decided that the PW railcar is numbered in its own separate series. (Actually, it was my cockup for not checking properly ) The kit makes up into a delightful little model which Ivan rather dismisses as being "all right for the kids". OK, it's a very simple model (indeed the kit is ideal for a youngster's project) but like all simple things, it can easily be made better. It all depends on how far you want to go All the "ingredients" for this upgraded model were already in stock in the MDLR's workshops. The headlight was one of a number of cast white-metal ones I'd acquired some time ago can't remember where from. Drilling one out and stuffing an IKEA LED in the rear was simple enough and it's held in place by the lugs on the back of the LED and the wiring. The simple "no solder" method of wiring the kit up suggested in the instructions works OK, but the MDLR has an operational requirement for all motive power to be able to run in reverse, so a reversing switch was added. The feed to this from the battery box also feeds the headlight, which thus acts as a "battery switched on" indicator. 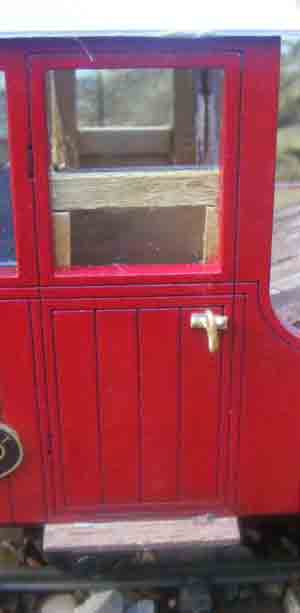
I figured that glazing would make the model much better, so some surplus Brandbright coach glazing was pressed into service. A cab door normally has a droplight window: easily made by gluing some stained coffee stirrer stick or stripwood inside the door and fixing the glazing to the back of that. The inside of the cab was stained light oak before this was done and the glazing added. It's OK on cost grounds to suggest door handles by laser-cut details, but it's easy enough to add proper brass door handles. As I'm not getting any younger, cab steps (again from stained stripwood) are easily added.
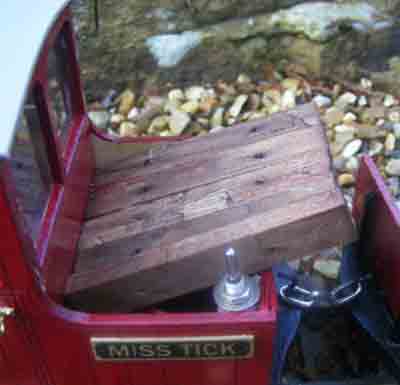
I didn't like the fact that the battery box and wiring were exposed to public view, so I've made up a load of sleepers to hide all that ballast and chairs will go on The Wagon............ 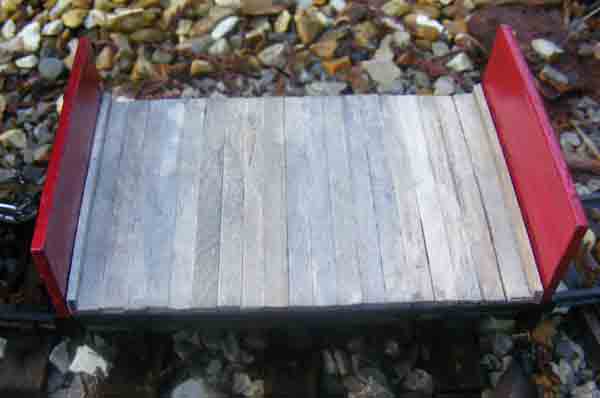
............. which was built "as is" looked a bit bare in the deck area (only lasered on one side) , so I added a deck (from coffee stirrers again) and stained it with dilute Indian ink. 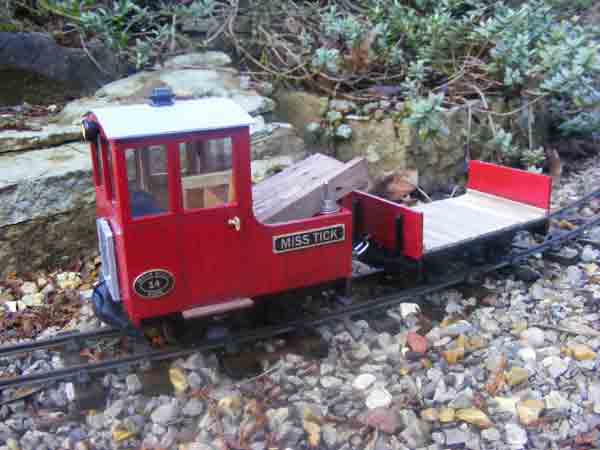
Finally, name and number plates (from Alan Briggs Nameplates) and a cab roof ventilator completed a charming little addition to the Railway.
.
|