|
This loco is an HGLW "Gordon" which I was originally going to call "MORON" because it's a Gordon (and if you don't get the reference click HERE), but I decided that as it's a biggish loco, it would get the dwarf name of Carrot (my Terry Pratchett friends will understand THAT!).
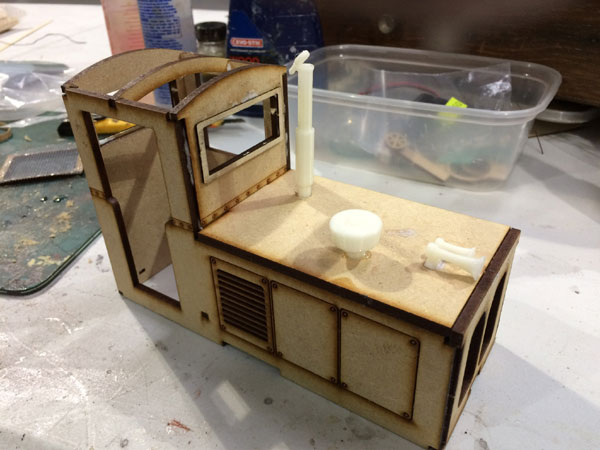
I originally bought the body to put on a Big Big Ruston chassis (coz that's what it was originally intended for) but I decided to buy one of David's chassis kits, and the whole went to the Large Scale Model Railway Show at the Fosse in 2018 to be built - here's the body assembled, with 3D printed "extras" (horn, exhaust and air filter) from SLR Models
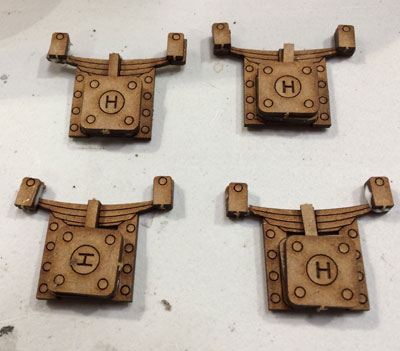
The MDLR fitters DO have a problem with square axlebox covers that can be installed any way up...............................
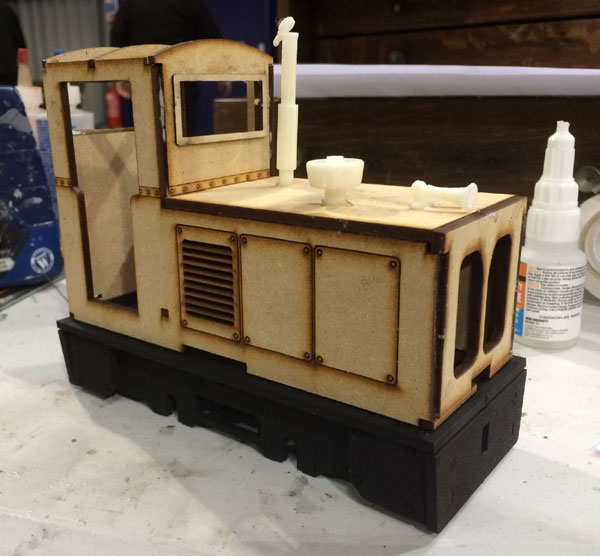
................ but at least by the end of the Show there was considerable progress made. The buffer beams and couplings were assembled and painted red BEFORE being fitted to the frames.
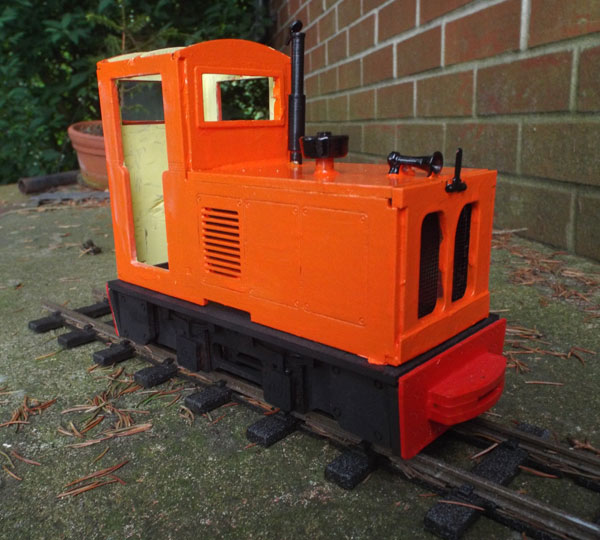
As the loco's going to be called CARROT, I thought this was a suitable colour.................
I tried an innovation with the wiring of this loco: as my soldering skills are not what they used to be (and I'm aware that many people shy away from this Black Art altogether) I decided to wire the loco using little push-on tags, rather than soldering the leads to the various terminations. This was the first attempt - I crimped the terminations with pliers, but they didn't grip the wires well enough, and there was a distinct danger of getting a dead short across the battery, with a resultant hot-and-nearly-melted battery box. Don't ask me how I know this...............
However, my local legendary electronics shop, R F Potts were able to come up with a slightly more robust version, which are crimped in place by an automotive wiring crimpimg tool, as shown here. The crimps cost £1-20, the parking £1-30!
They took up more room under the bonnet, which might cause problems on smaller locos, and I STILL had problems with shorting and wires disconnecting, so I reverted to good, old fashioned soldering.
The next jobs were to fit the cab windows (having sanded the edges down, as I'd painted into the recesses too much)
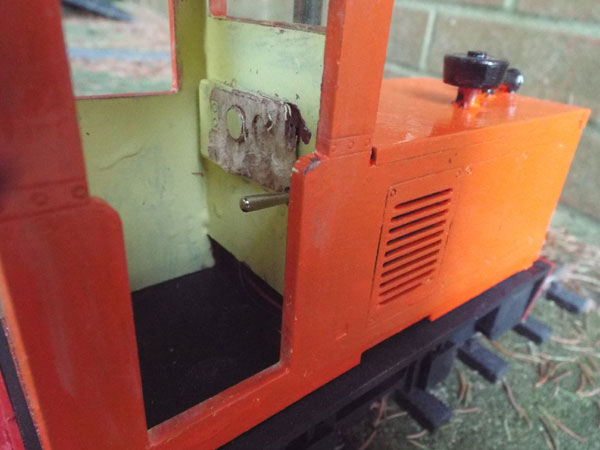
................ and the coupling pins. As you can see, there was a small problem with fitting the switch...................
................ with the control panel, which needs to be hard up against the left-hand cab wall, otherwise you can't get the nut on the switch.
.......like this!
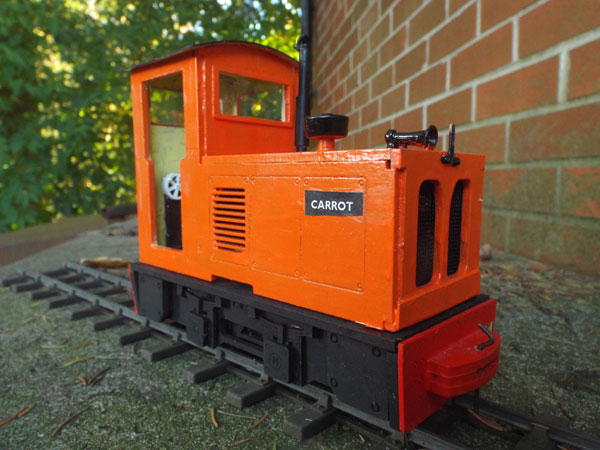
A view from slghtly above shows the "glue on goodies" that were bought for the loco..............
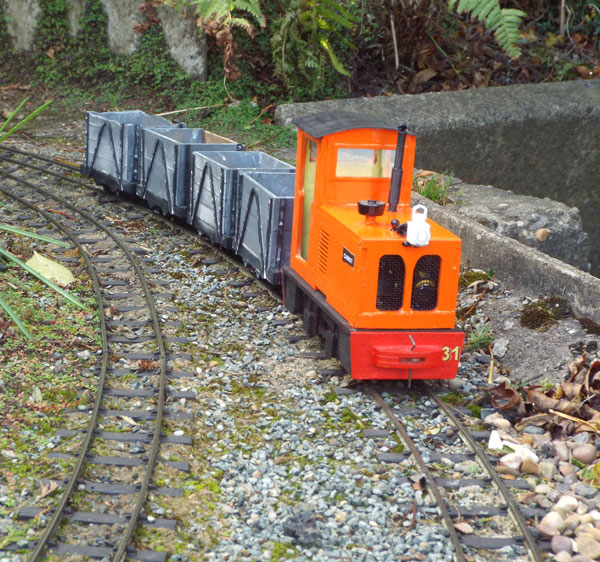
The loco finally entered service on 28th October 2018, and is seen here on its first train - a rake of Phil Sharples' Chinese coal wagons.........
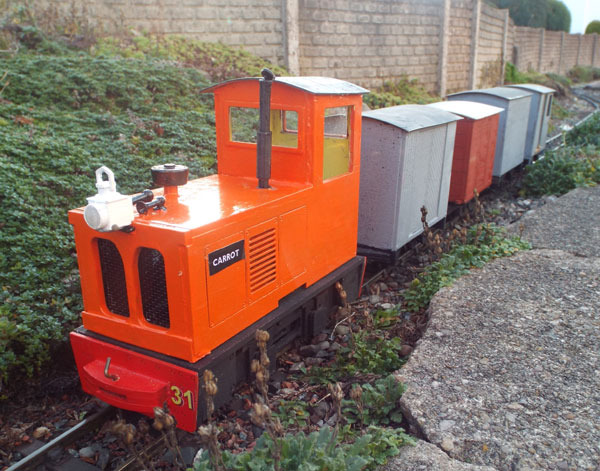
................and also on a rake of vans - an eclectic mixture of IP Engineering Ezee and Phil Sharples. Page Updated on 28nd October, 2018 Back to Stock List Home |