|
In May 2010 I took delivery of a Brandbright Directors' Saloon kit and I have to say I was VERY impressed with the amount of detail in it...........
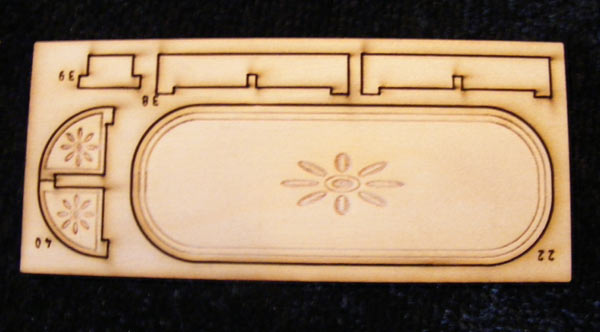
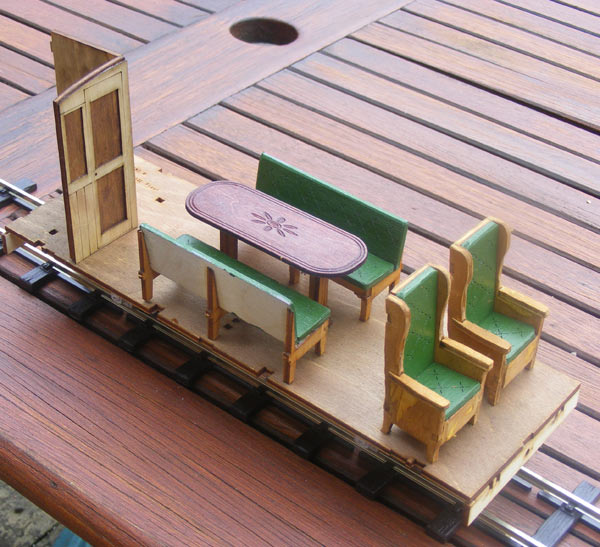
The table tops (one big one for the centre of the saloon, two little ones for the rear corners.........
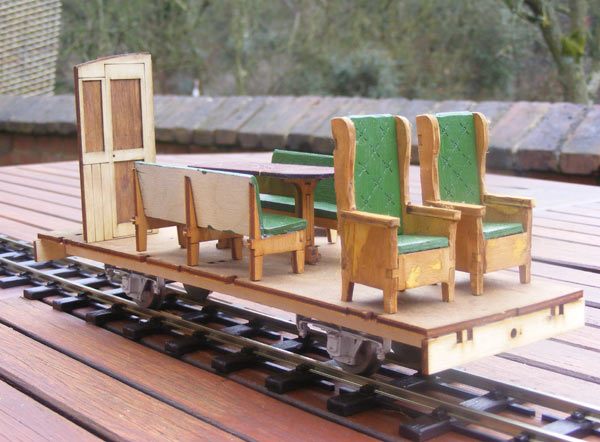
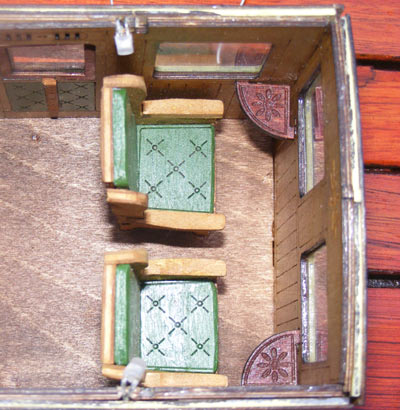
Side seats (there are armchairs too...........)
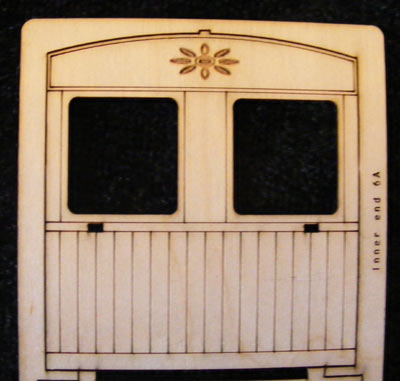
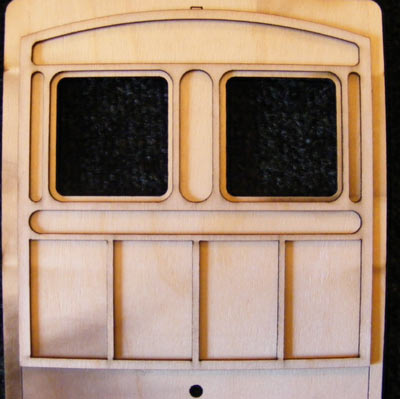
The inside of the observation end..............
They even tell you which bit is which!
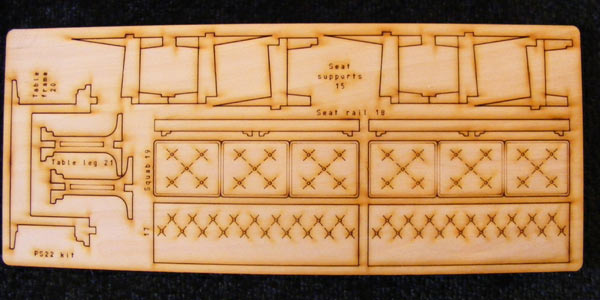
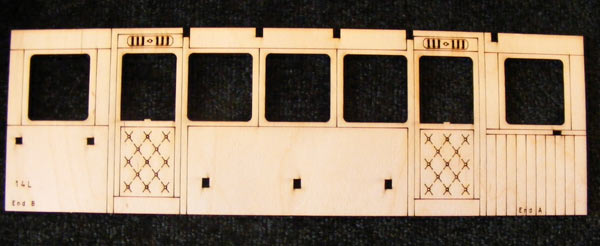
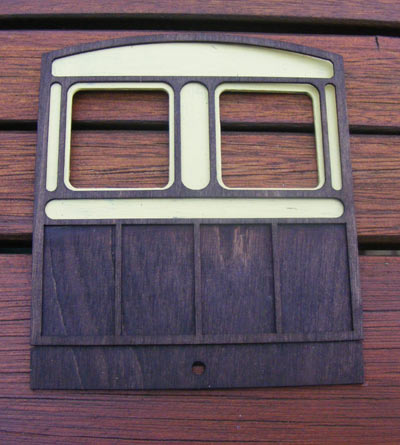
Inside detailing - one of three layers of ply which make up each side.
Just laying the outside layer on the inner layer shows what the result is going to be like. Livery is going to be Burmese Teak outside, Pine inside and Mahogany for the table tops and toilet lid. Seats will (of course) be in green! I'm having great difficulty in not going out to the workshop and starting on it................ ...................... but eventually I gave in to temptation!
After a veritable orgy of staining and painting (and some sticking) I've got this far................
None of the seats or table (or for that matter, the toilet bulkheads) have been stuck down yet. As I write this, the ends are starting to be assembled - next job on this part is to paint the underframe black - it's easier now than later! When I was getting ready to spray paint the underside of the coach, I took another look at the main body. I've decided that an all - stained finish would be too dark (besides, the transfers won't show up) so I've opted to paint the upper half panels on the sides and observation end in MDLR Standard Cream (otherwise LNER Excursion Stock Cream) with stained overlays, so the sides are now also in primer!
An hour or so later, this was the result - a most pleasing livery!
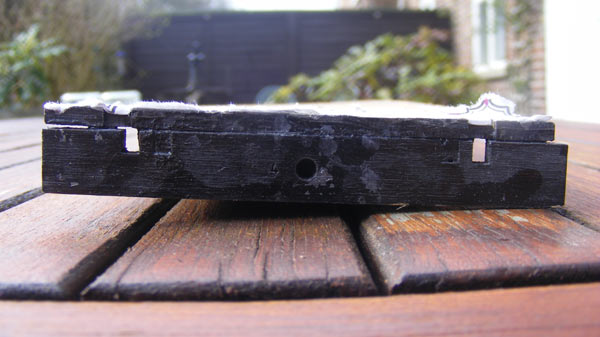
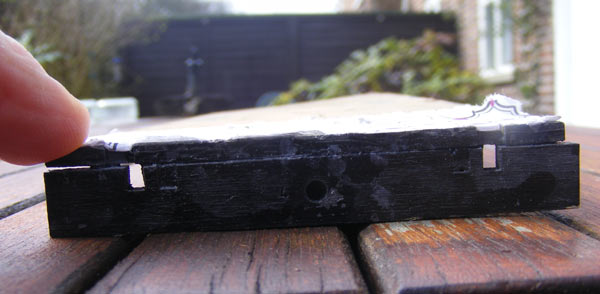
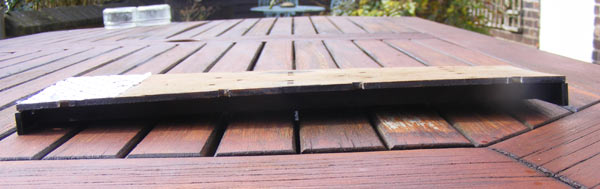
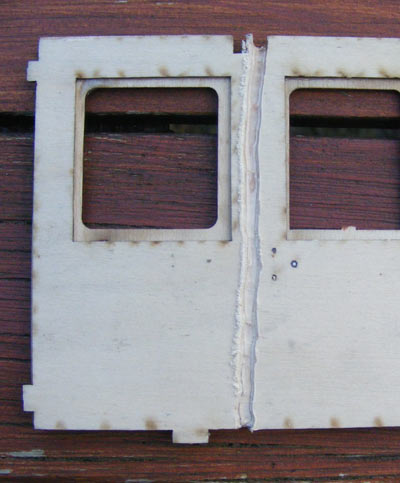
Unfortunately, when I came to continue assembly............
.................THIS had happened...................
.......... making assembly impossible!
Following the supply of a number of new parts by Brandbright (because I'd already fixed the wheels and underpinnings in place before the warping occurred) the sides had grooves cut in the "glazing" layer................
...................... which meant that when assembly was begun..............
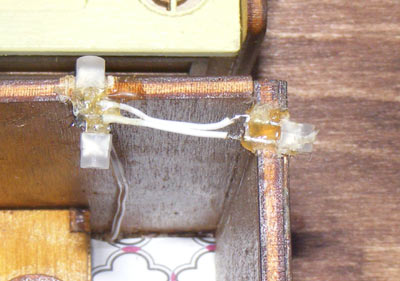
............. the lights were in place.
Sorting this set of 3 out was rather more of a challenge!
............. the lights were in place.
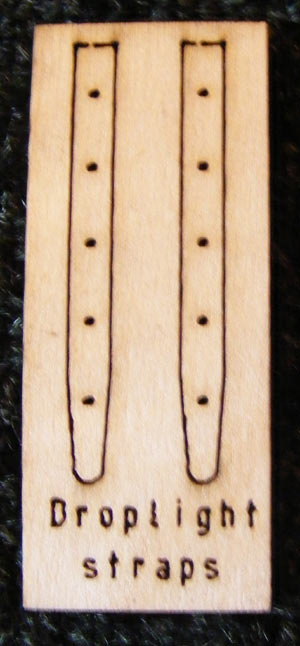
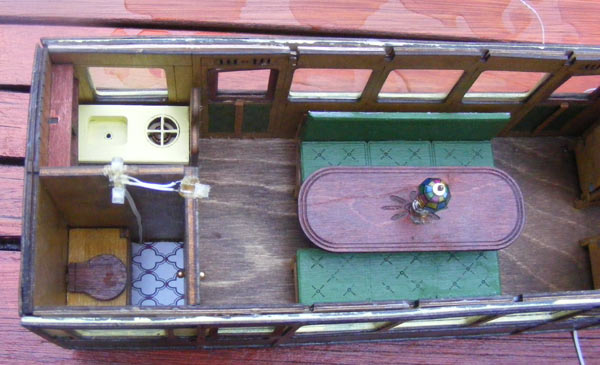
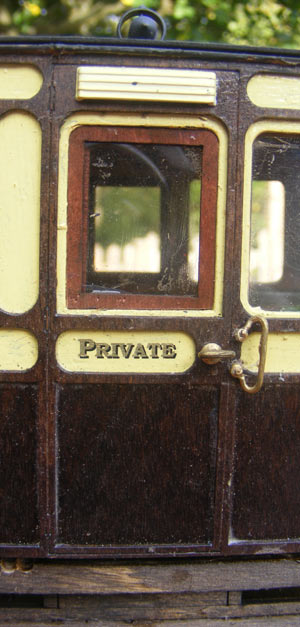
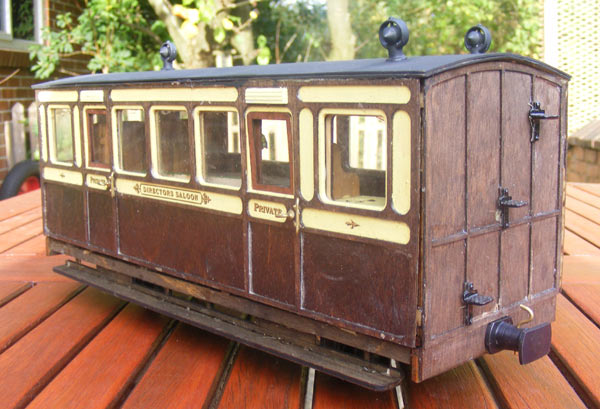
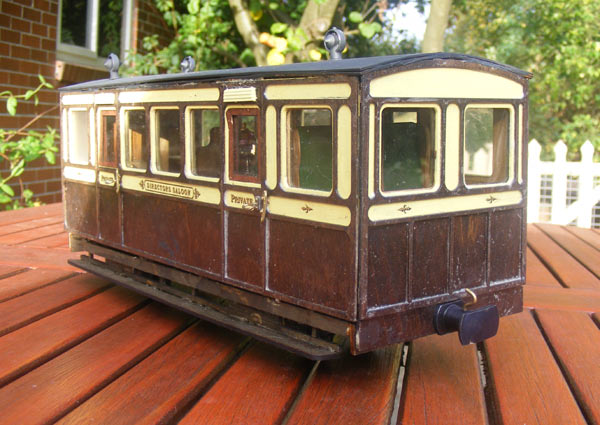
Once the body was assembled, droplight frames (in mahogany) were added.........
............. as well as all the other little external details.......................
............. and, of course, the roof!
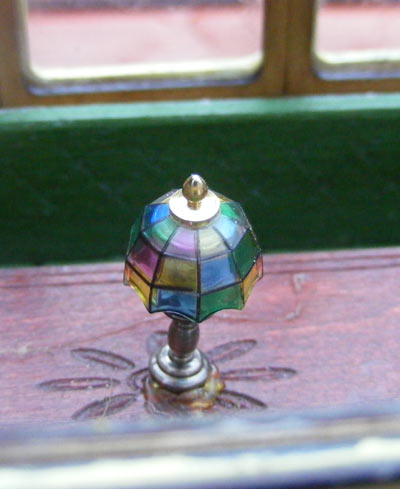
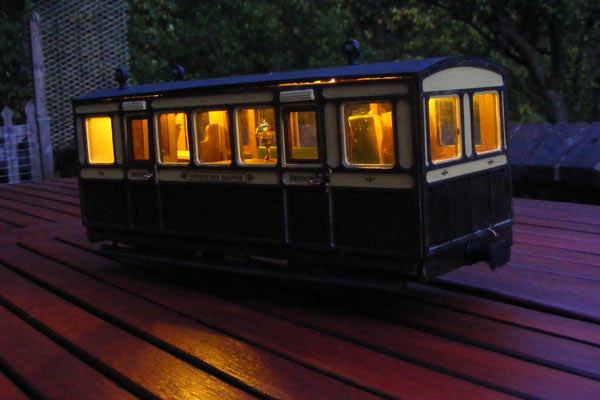
It looks nice at night, though! |
Updated on 4th October 2011