|
It's sometimes quite nice being a writer - people tend to want to give you kits to review. Thus it was at Llanfair 2017 that Bole Laser Craft from near Retford gave me a kit for their Trefor Flat Wagon - one of a set of three sharing the same chassis (which you can buy as a separate item if you wish). I picked the flat wagon: not because it was the most expensive, but because I seem to be gathering quite a collection of flat wagons of all shapes and sizes, so this will make a good addition to the collection. The kit is made of three materials: lasered poplar ply for the bed and planked ends, lasered MDF for the chassis and wheel building gauge and 3D printed couplings, stanchions and axleboxes, together with the almost-obligatory Binnie wheels. It's all nicely packed in a flat cardboard box. Don't lose the little screws...................... It's nice to find a 3-link coupling included, but there is a very good reason for doing so - the couplings supplied can either have the chain secured inside the coupling with the supplied (removable) pin, or said pin can be glued in place and the chain hooked over the top, like most of us do. I personally think the small, removable, BLACK pin is a disaster in the making!
What comes in the box............... The instructions are good: I liked the remarks about the three sets of end plates you fix the couplings to - "one pair with one hole for the supplied couplings, one with two holes for the optional bell-mouth coupling and one with no holes in case we've forgotten something...." Assembly of the three layers of both the chassis and wheel-setting jig is aided by the lasered MDF "pins" which hold the three layers in register. The end plates for the couplings are also retained in place by lugs in the middle layer. I glued the floor in place before painting all except the planked floor top surface with rattle can matt black paint.
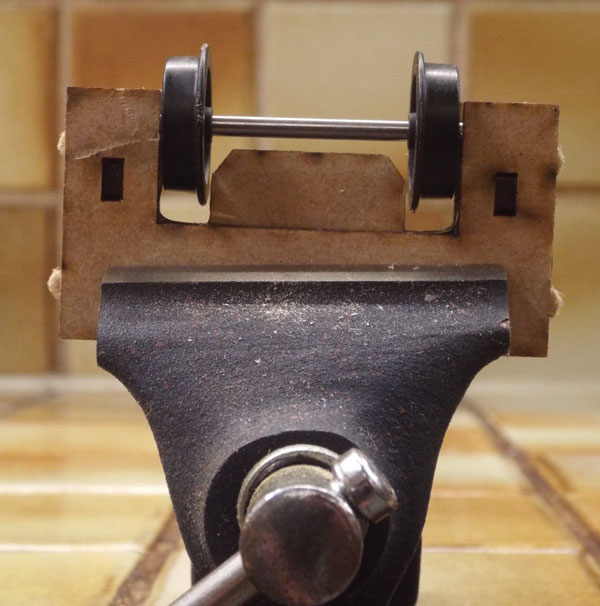
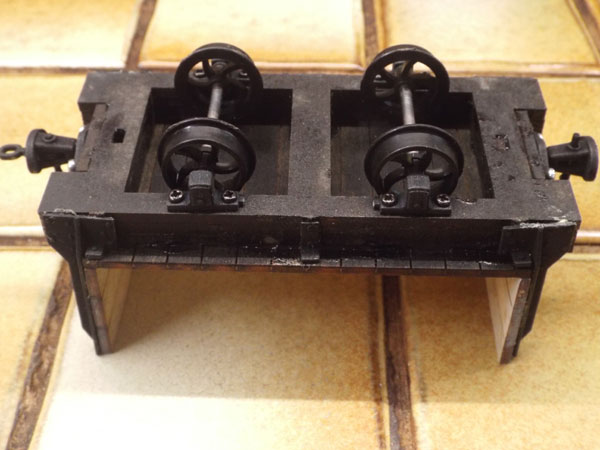
A wheel set being assembled in the (supplied) jig Once this had gone off, I assembled the wheelsets and couplings to the underframe - an easy task as the axleboxes have a pip on their top surfaces which is a tight fit for a lasered hole in the bottom layer of the underframe. This ensures that the axles are square across the wagon, and also facilitates easy removal at a future date (like when you've forgotten to take the pictures...). Then, 2 screws hold each axlebox in place. Be careful not to lose these screws................... Bole Laser Craft provide a handy 3-layer jig, lasered from MDF, which you use to ensure that the wheels are (a) to gauge and (b) located centrally on the axle. Be careful not to gunge up the recesses where the axle will sit: cleaning out with a small diameter burr on your high-speed grinder of choice will clean the slots out. Once the wheels were in, I added the couplings. Shame the screws for this were silver, rather than black.................
The axleboxes are secured with small screws...........
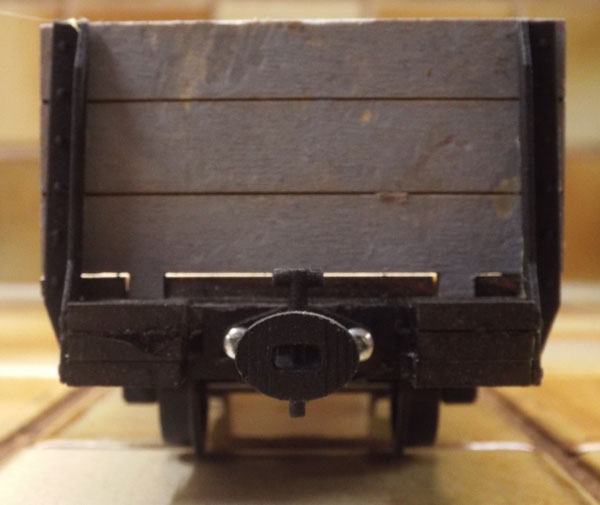
........"the couplings. Shame the screws for this were silver, rather than black................." Finally, the two upright ends (which had been painted on the outside with grey primer rattle can paint) and the top surface of the floor were cleaned of paint where it wasn't wanted (on the inside) and then thoroughly sanded to get rid of all traces of laser burn. The ends were then glued into their locating holes and the end stanchions added. The quality of the 3D printed parts (of which this is one) is absolutely exceptional: there is no cleaning up to do (apart from trimming off the bits of sprue which holds the parts together) and the surface finish is exceptional. The fact that Bole Laser Craft outsource this work to an outside provider of 3D printing services may well have something to do with this. The printed parts are all finished in black, so no painting needed. The stanchions were glued in place with Evo-stic and the whole set aside to dry thoroughly. The only remaining tasks were to "roughen up" the top edges of the ends with a sanding drum in my Dremel and to treat the floor and inside of the ends with my patented Indian Ink wash - a brush full of ink in a small jam pot (the sort you get on trains and at afternoon teas) filled up with water. If you're not too sure about this, try it on a spare piece of wood - if it needs more than one coat, add a little moe ink - if it’s too dark, chuck it away and try again!
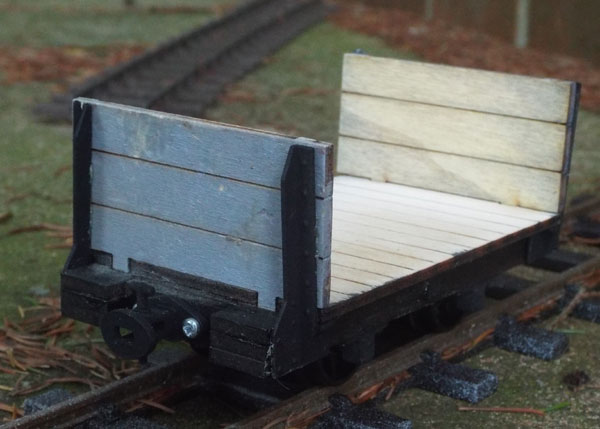
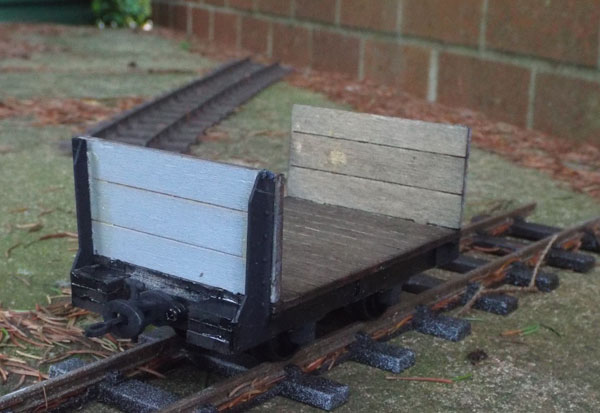
the deck before staining...................
........... and afterwards. Note also that the silver screws have been "disappeared" All in all, this is a well-presented kit which is not difficult at all to build and produces a delightful wagon. This originally appeared as an article in the February 2018 edition of Garden Rail. |

Back to Flagg Fluorspar Stock Page
Created on 17th April 2017