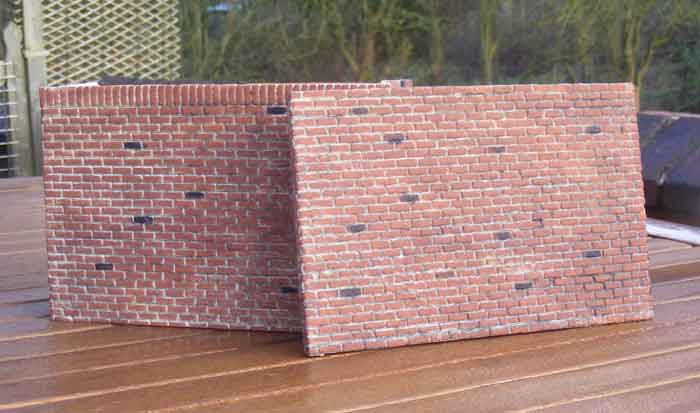
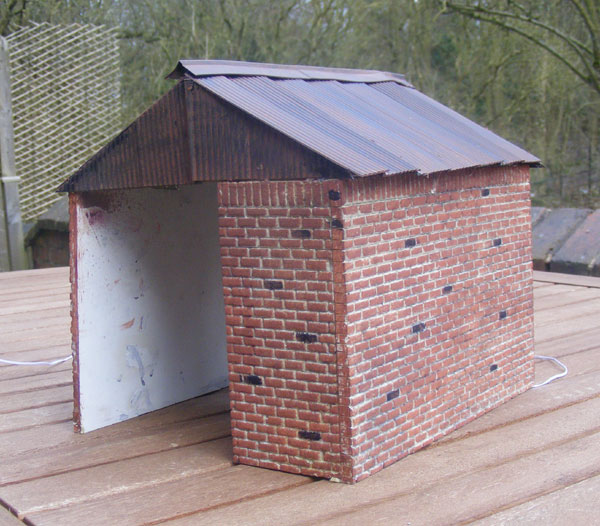
After Exeter, I decided to make a start on the Loco Repair Shop. The walls for this were built from a sheet of Andel Models brickwork which was carefully cut to size outside (because cutting epoxy resin with ANY sort of saw creates a HELL of a lot of dust) followed by careful painting on the face of the bricks only with terracotta masonry paint, followed by painting odd bricks black and a wash over with very dilute black paint.
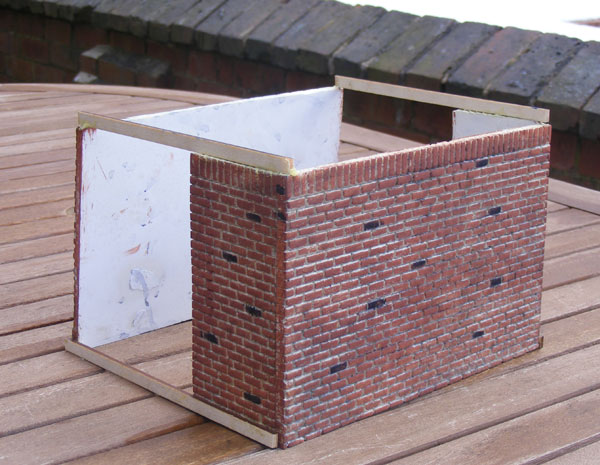
Once I'd determined the final size of the shed, the two walls were held in their correct relative positions with some wood secured with just a dab of Evostik................
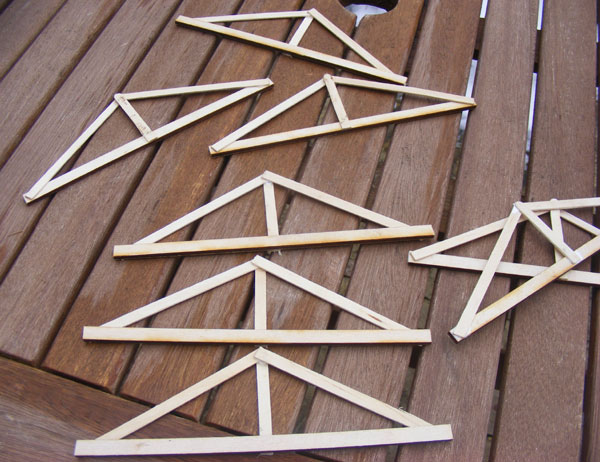
................. the roof trusses were made up...............
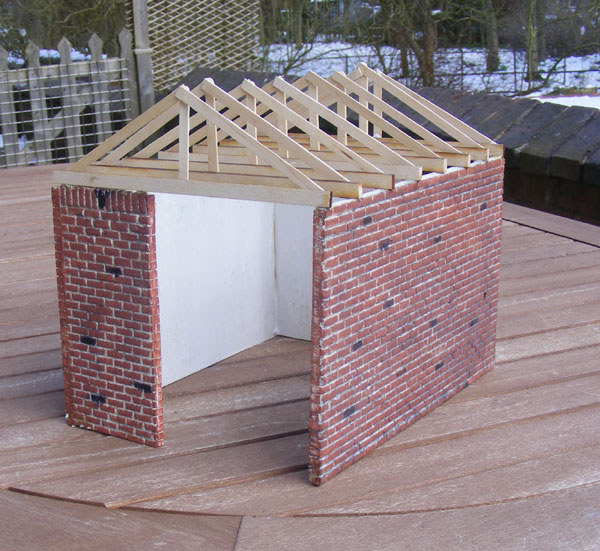
................. and the latter glued to the former with 5 minute epoxy. Once this had gone off, the temporary beams were removed and the final two trusses glued into place. It was only after taking this picture that I noticed that the wall was leaning............... easily corrected by breaking the glue joints and re-sticking.
The next stage was to sort out the internal lighting, which needed to go in before the roof sheets went on. Ian Shields had found some nice bright sets of LEDs which run on 4.5 volts and are DIRT cheap (like £1-50) so these were used............
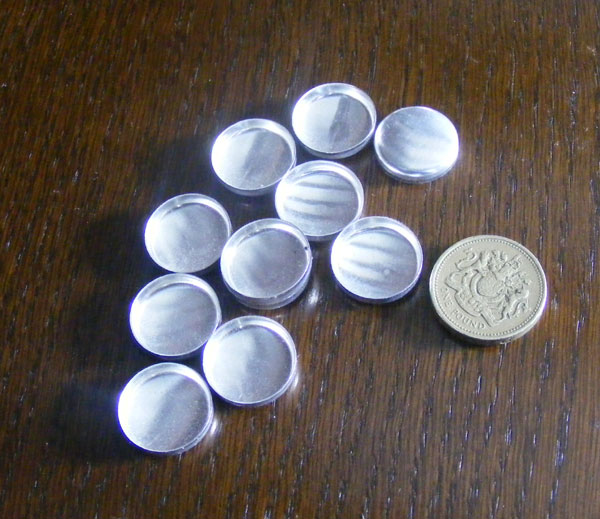
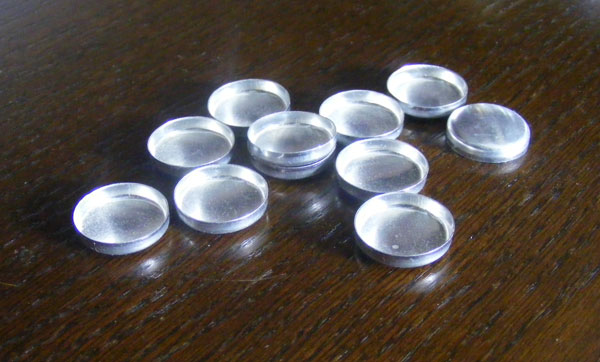
................. with the reflectors being made of these upholstery button covers, scrounged from a furniture manufacturer in Long Eaton. The £1 coin give some idea of the size.
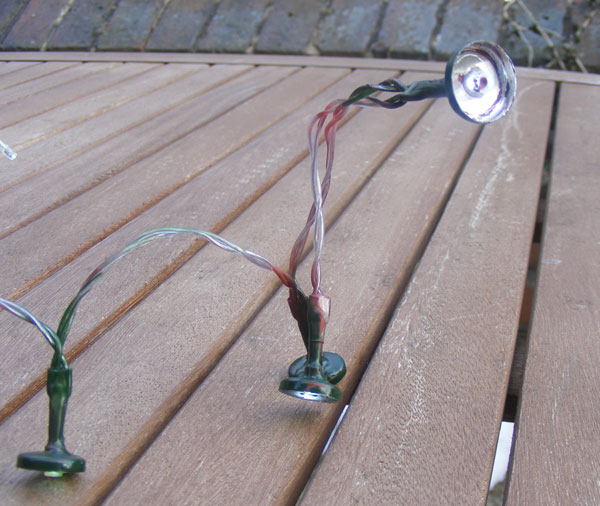
The button covers are made of a VERY soft aluminium, which proved "interesting" to drill with a not-so-good failure rate, until I got the hang of it. The LEDs were then epoxied into the holes and when I saw how much light was leaking out of the top, the reflectors, backs of the LEDs and wires were primed and painted dark green, with the result illustrated. I've not bothered to unsolder the LEDs and rewire them, as all the loops of wire will be hidden by the roof beams and nobody (except the people reading this) will EVER know I cut the corner..............
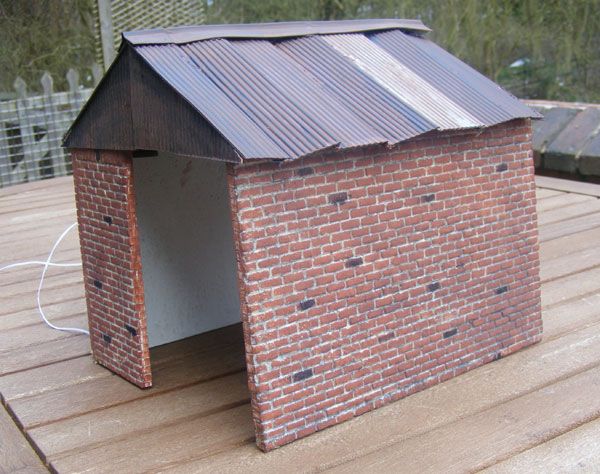
The next job was to glue the light fittings into place with hot glue gun glue, following which the roof panels (individual ones, this time) wre glued in place with the hot glue gun. A swift coat of dilute Track Colour, followed by a wipe off, and there we were!
Ironically enough, the back side of the shed (which won't be anywhere NEAR as easy to see) went on a whole lot more evenly..............
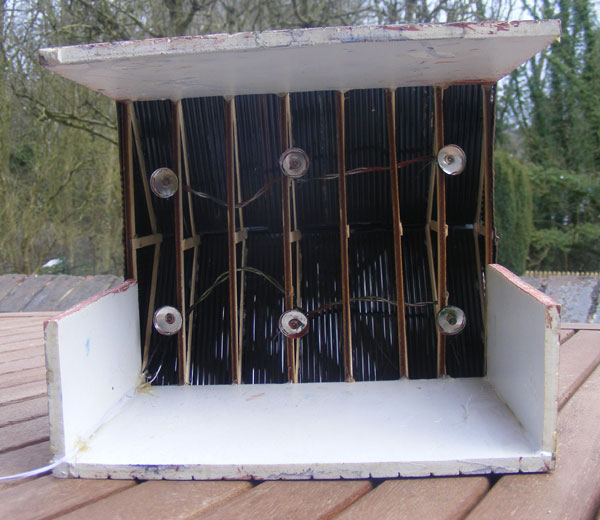
A view from underneath, showing the light fittings fixed in place.
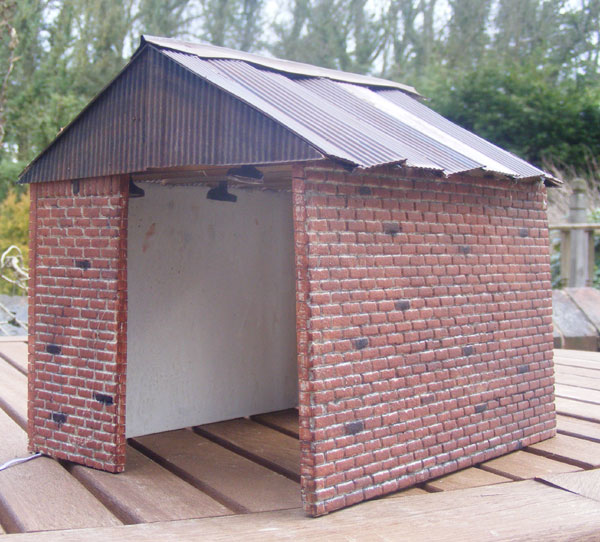
Viewed fron nearly ground level, that roof looks REALLY rustic!
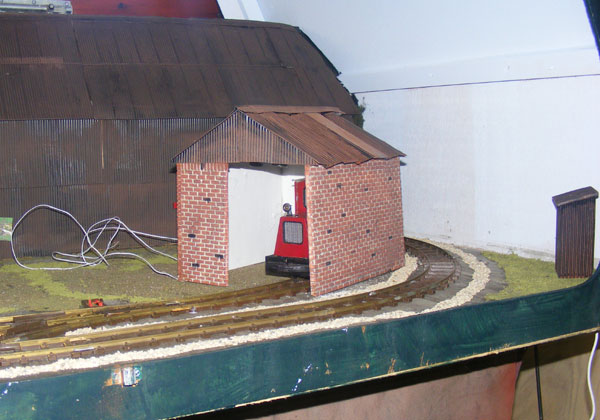
Needless to say, the temptation to place it in position was irresistible...............
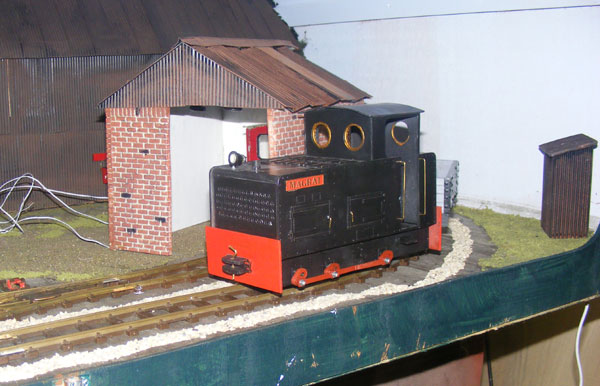
............ and Magrat was able to run a clearance trial with "normal" sized stock. The wire will, of course, disappear under the baseboard when permanent "planting" takes place.