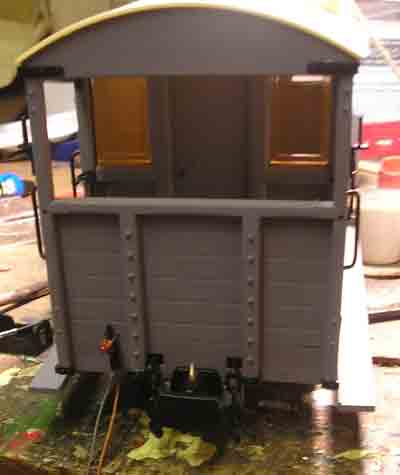
At Christmas 2007, the Railway was bought an Accucraft WLLR Brake Van. Somebody suggested that it would be cruel to remove the beautifully-moulded lamp irons - "Why don't you make plug-in ones instead?" This was how I did it.
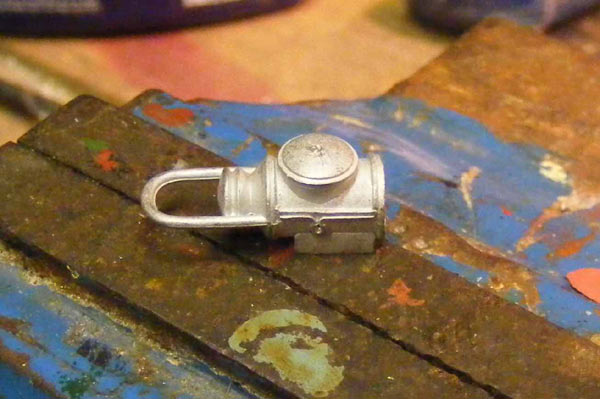
I started off with a cast white-metal lamp from Brandbright. Just to be awkward, I use round ones for rear lamps, which makes things just a little difficult. The first job is to centre-pop the middle of the "lens" on the front and drill through 1.5mm.
.............. so it looks like this.
............ following which, take a 5mm drill and go into the lamp from the front to create a "reflector".
You can then drill out what remains of your original 1.5mm hole, to let more light through and test to see if you get enough light through. Put lamp to one side for now.
We've now got to wire and fit the sockets into which the lamps are going to fit. I got mine from All Components of Hereford where they are catologued as CMP100 but no doubt you'll find a local shop, where you'll also be able to get a 2 X AAA Cell battery box and some wire if you haven't already got some.
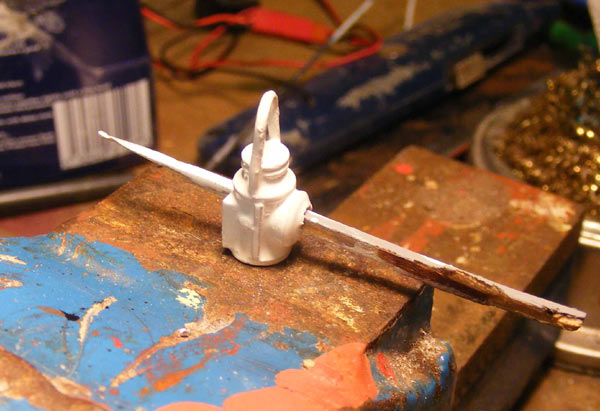
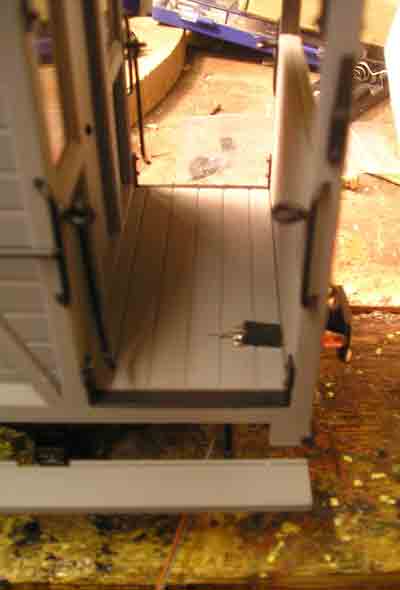
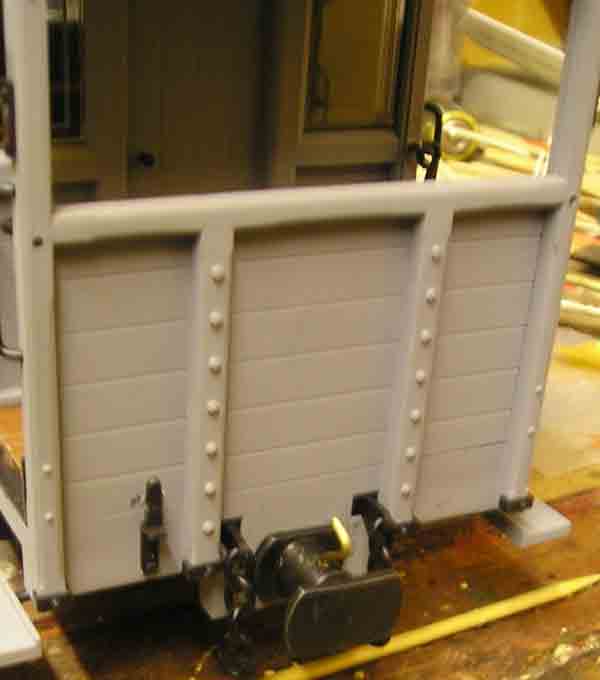
Having soldered a length of wire to each of the pins on the back of the socket, and fed these wires through two holes drilled through the veranda floor, drill 2 holes (the same distance apart as the pins on the LED) through the bodywork, one each side of the lamp iron and at floor level. Stick the LED through the hole and use it to hold the socket in place as you glue it firmly to the floor.
The LED looks a bit naked, but never fear...............
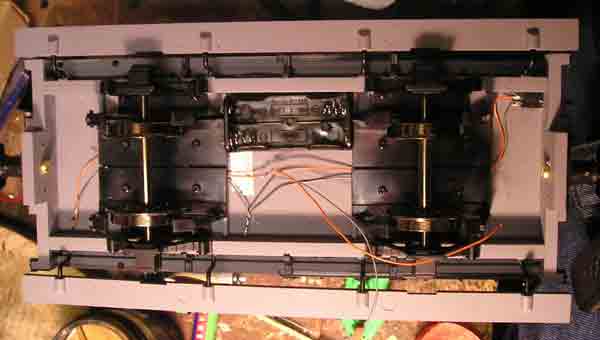
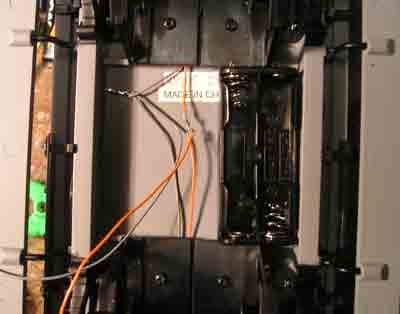
The wiring under the van is held in place by the big tabs on the re-gauged brake shoes and the battery box fits a little too snugly between them. As you can see, the socket on the non-veranda end (on the right-hand side of this shot) was fitted under the floor as I have yet to find a non-destructive way into the van. This unfortunately meant that I've had to "lose" the lamp iron at that end, but at least the one at the end which is normally seen has survived intact. MOST IMPORTANT!!! Make sure the wiring is reversed between the two sockets, so that the same polarity is on the left-hand pin at both ends.
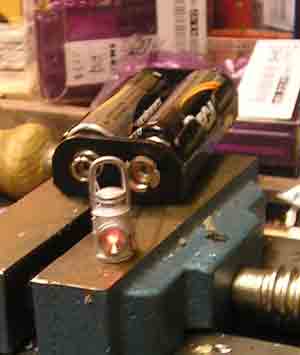
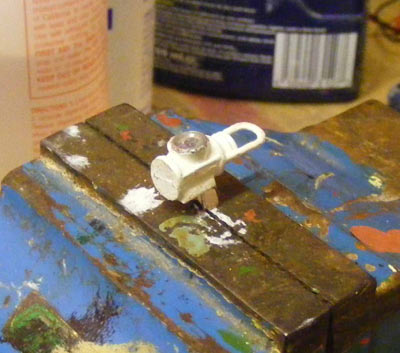
Once you've added connecting wires to the battery box, you can check which way up the LED is going to have to be to work correctly............... .............. and you can glue it into the lamp body THE CORRECT WAY UP!! and create a new lens with the glue (I use 5 minute epoxy).
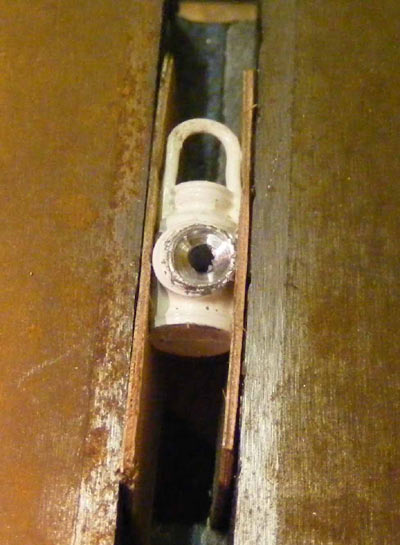
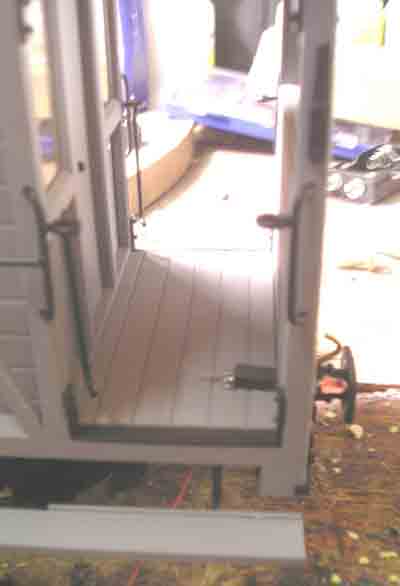
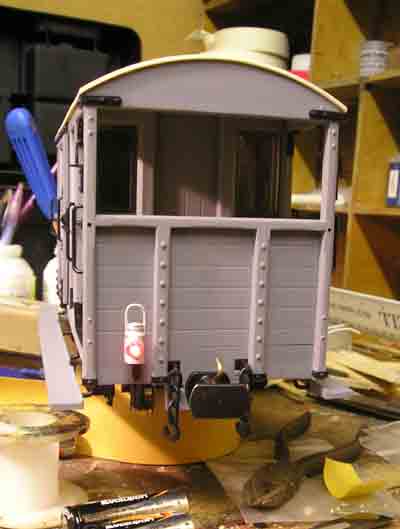
The final result has a small hole either side of the lamp bracket..........
............ into which the lamp plugs.
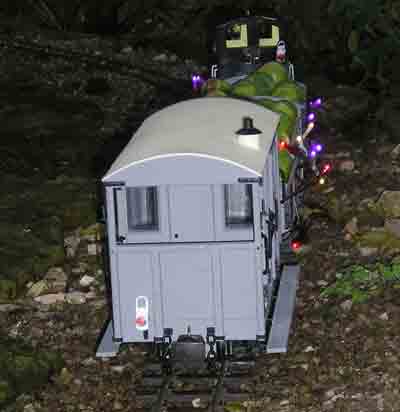
It looks quite effective at night............. |